Timeless Tips for a Bedroom Refresh Without Renovating
Last summer, I finally faced it… our primary bedroom needed some love. Since moving in back in 2018, we really hadn’t touched the space aside from adding our custom bed. Everything else? Thrifted, mismatched, and basically just thrown together to make it work. It wasn’t awful, but it definitely wasn’t polished or pulled together. For a space we use daily, it always felt like an afterthought. So I set aside time for a small refresh, no big reno, just simple updates that made a big impact. Keep reading for the design progression, some of my favorite timeless tips, and of course, to see how it turned out.
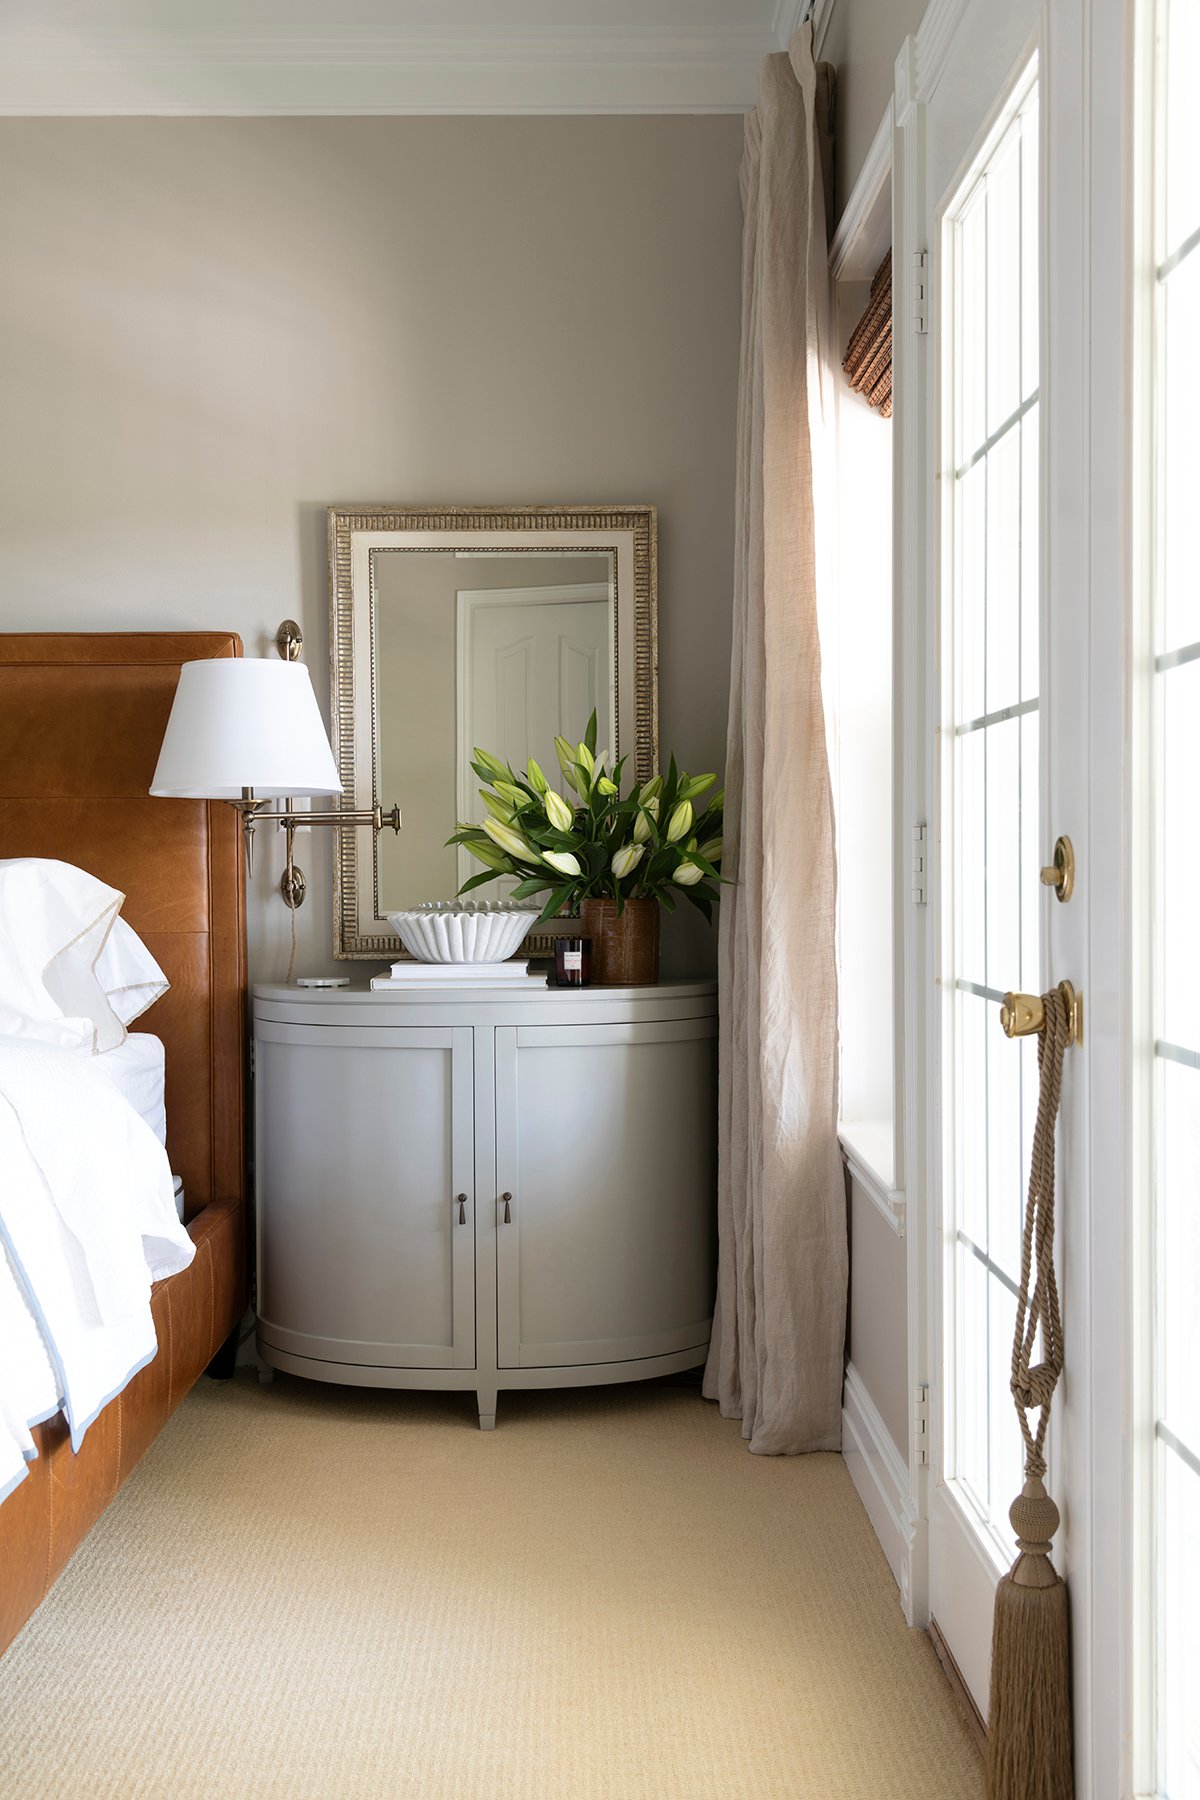
I’ve had a full renovation in the back of my mind for years. When we get to it, I’d love to do everything properly; millwork, new paint, a closet update, the bathroom, even rebuilding the bedroom balcony. It turns out, that large scale renovation may come more quickly than expected, as we’re gearing up to renovate the primary bath later this year. Anyway… I didn’t want to wait any longer to enjoy our bedroom. So I challenged myself: how could I bring this space up to par with the rest of our home without doing a big renovation?
That’s what sparked this refresh. My goal was to make smart, intentional updates that could carry through to a future renovation- like swapping the ceiling fan, installing linen drapery panels in place of plantation shutters, and replacing the carpet. I didn’t want to waste money or energy on temporary fixes. Everything I brought into the space needed to be classic, high quality, and useful long-term.
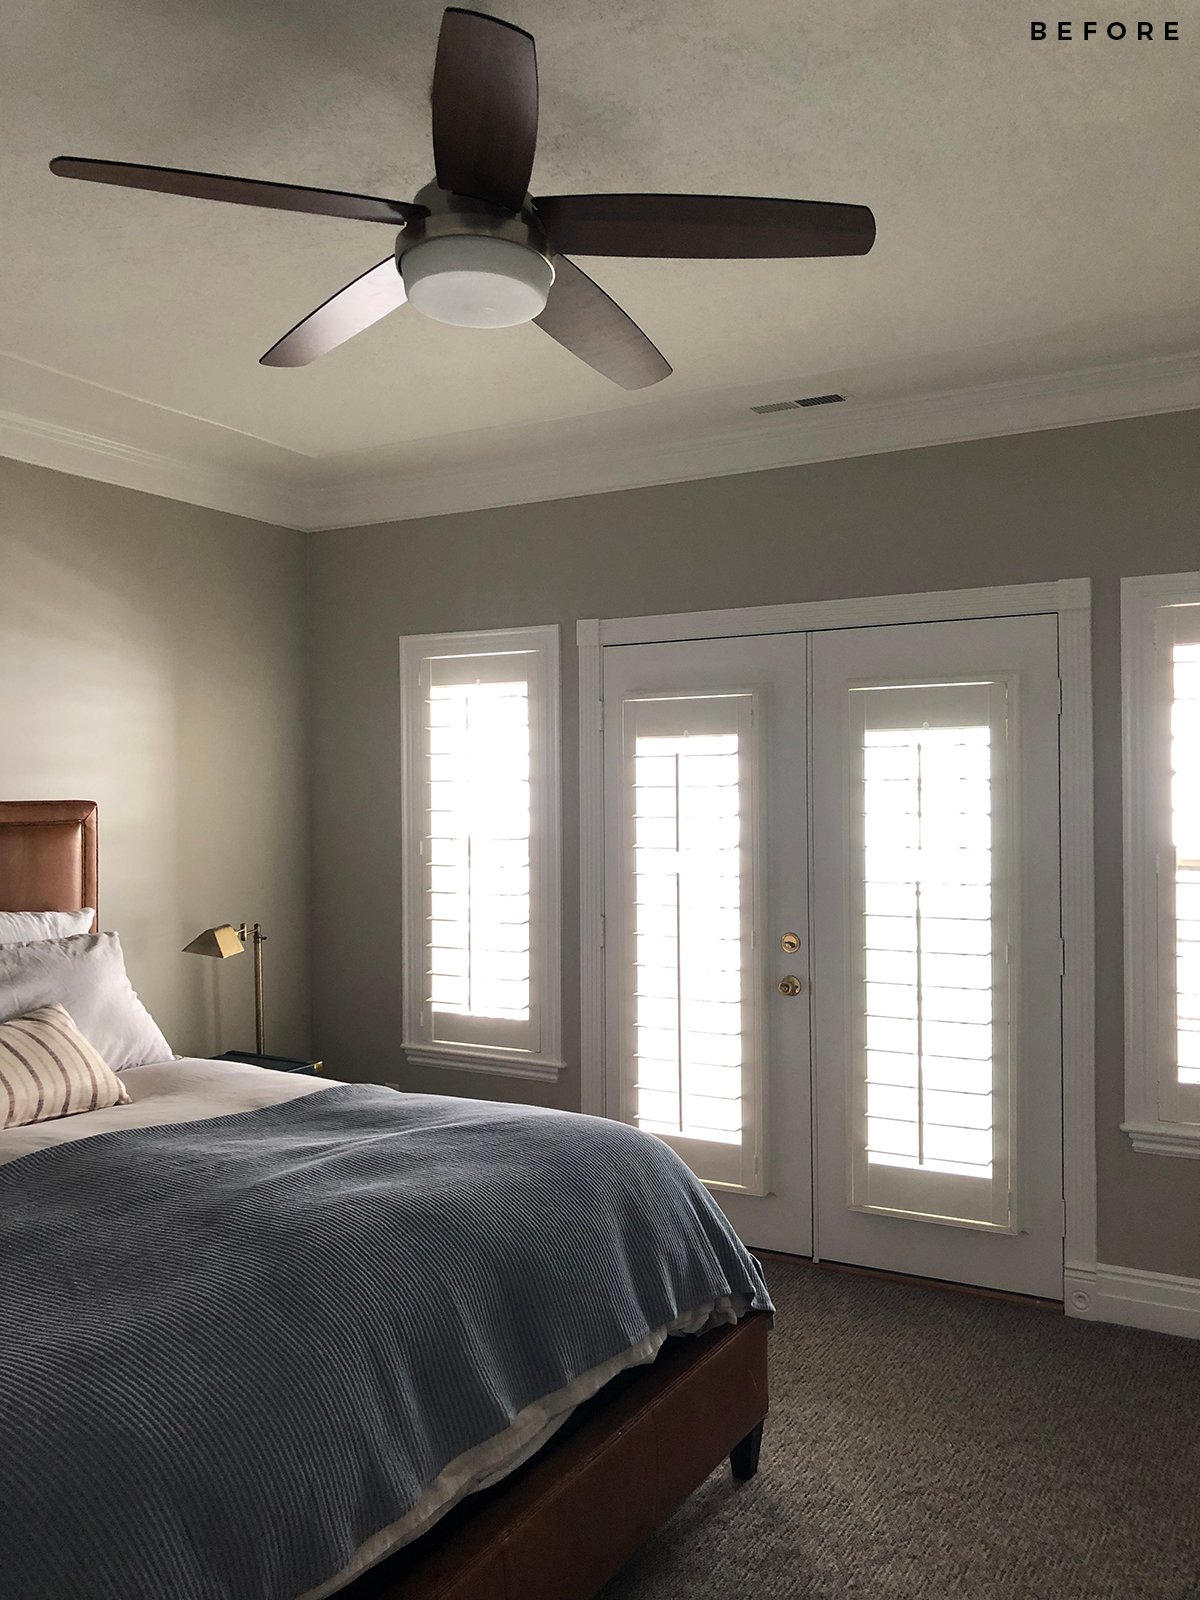
Want to see the updates? It’s kind of amazing what a few small and intentional changes can do to totally shift the aesthetic of a room…
My Approach to the Bedroom Refresh
I started by identifying what wasn’t working. The mismatched nightstands were too small and didn’t provide any useful storage. The lighting was inconsistent and not suited for reading or relaxing in bed. We had bare walls and nowhere to sit. The space lacked personality, and worst of all- it looked unfinished.
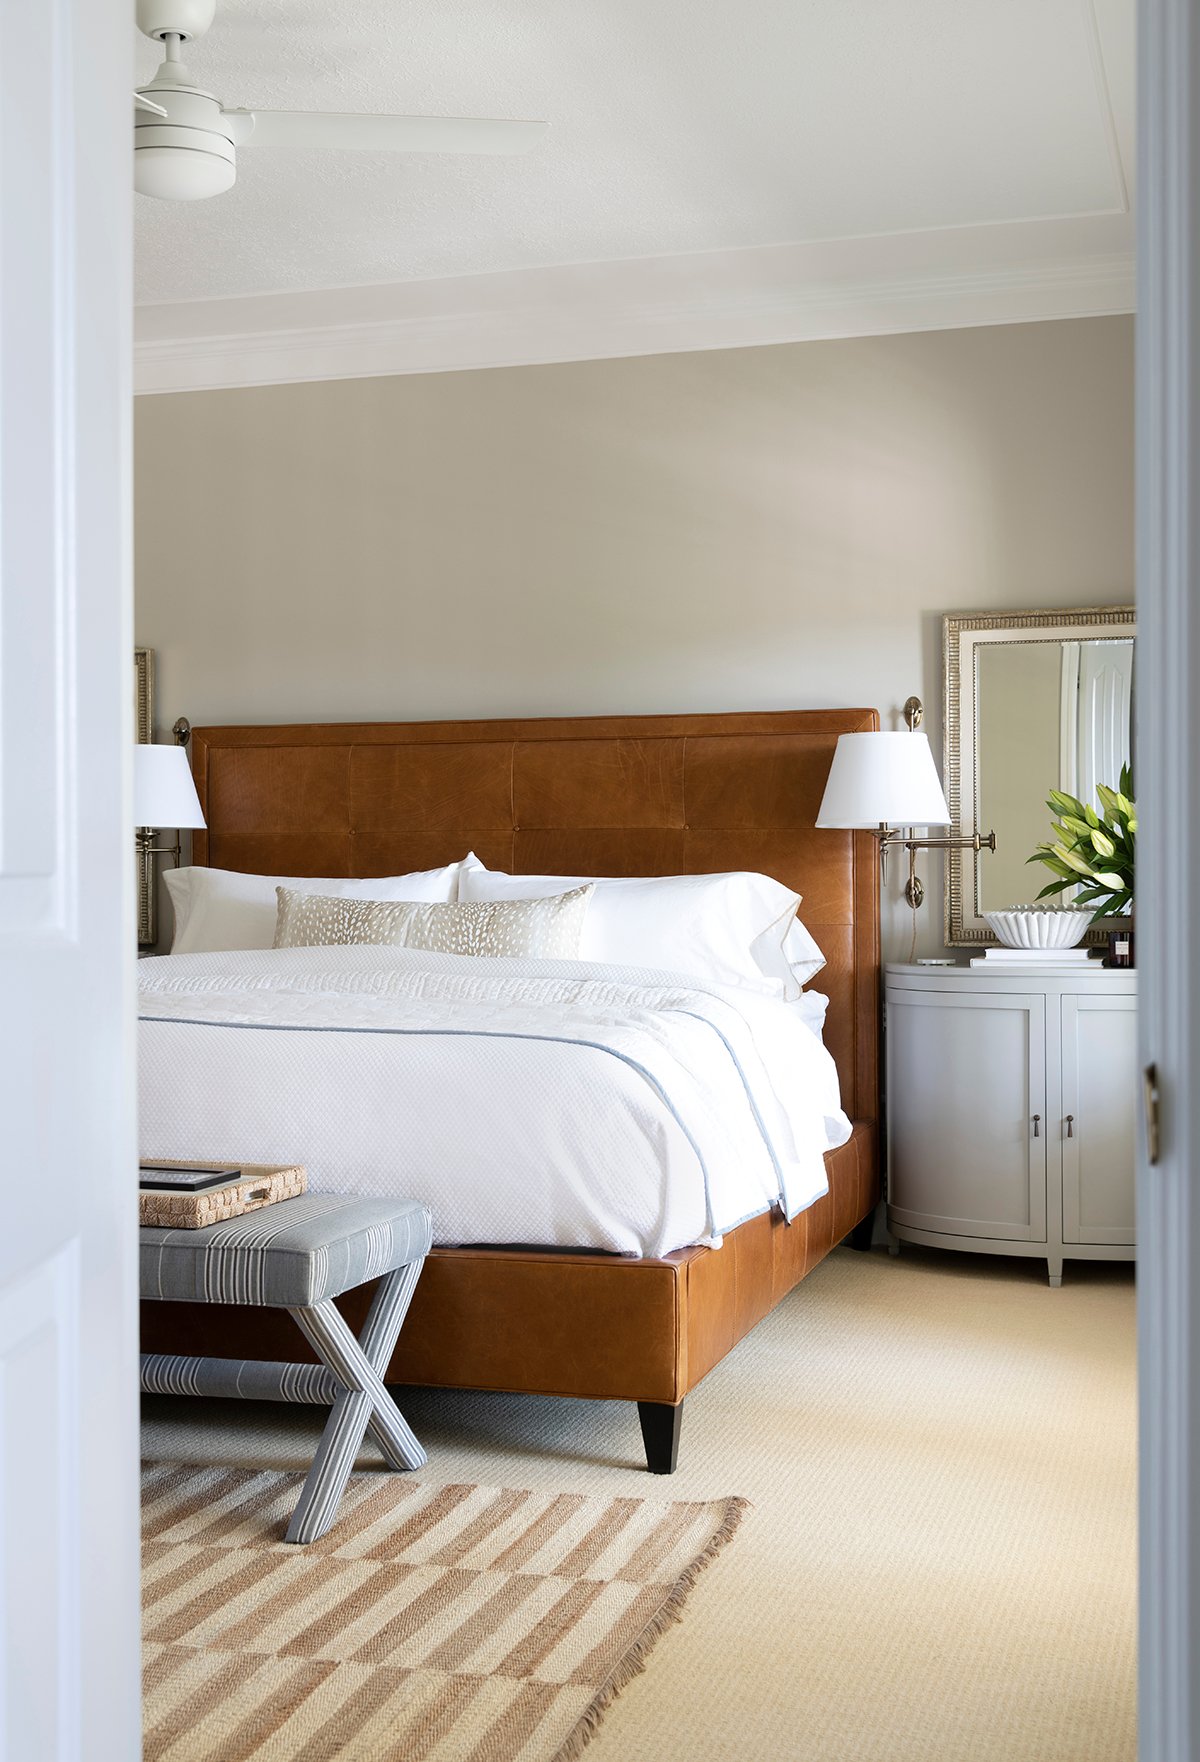
Instead of starting over, I focused on layering in thoughtful, timeless elements. I chose things we could keep when we eventually renovate, things that felt like us, and pieces that made the room more inviting and functional.
Favorite Upgrades and Furniture Swaps
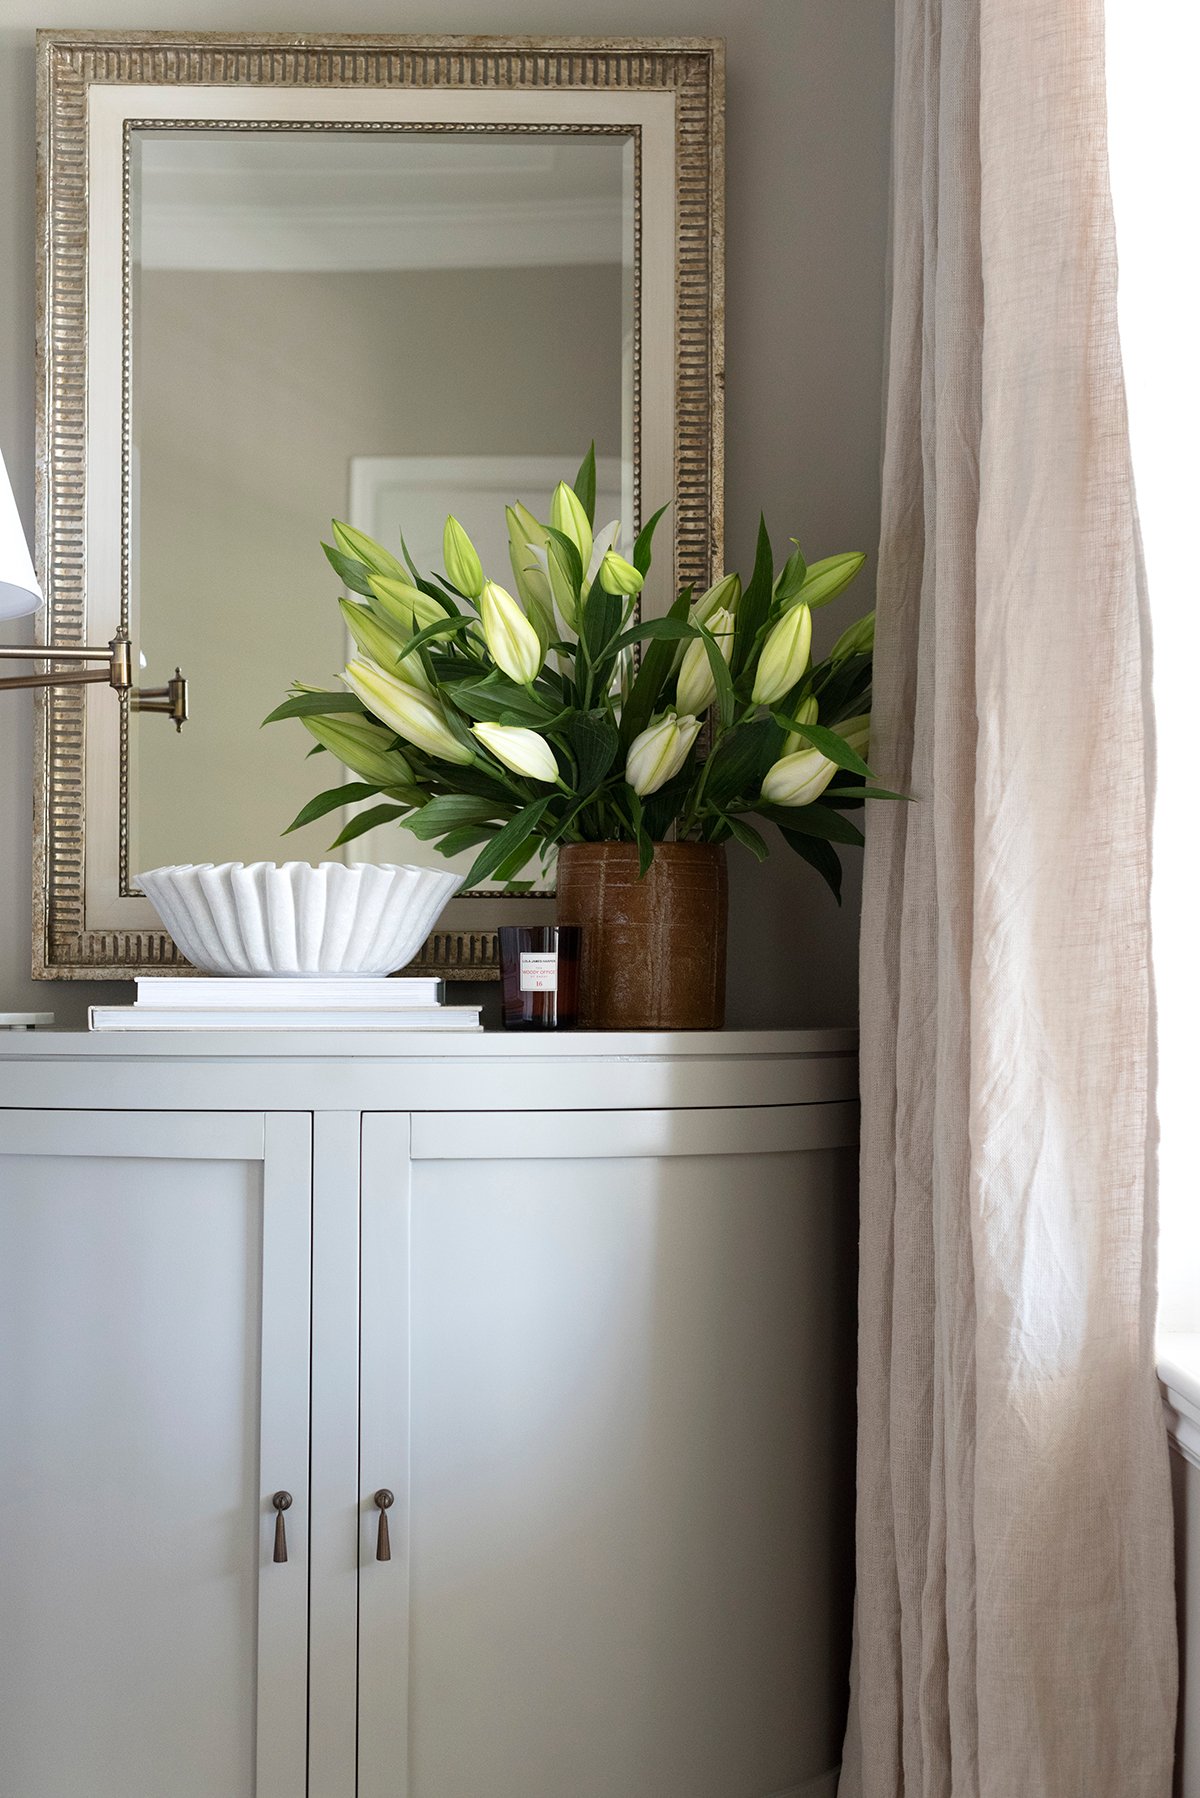
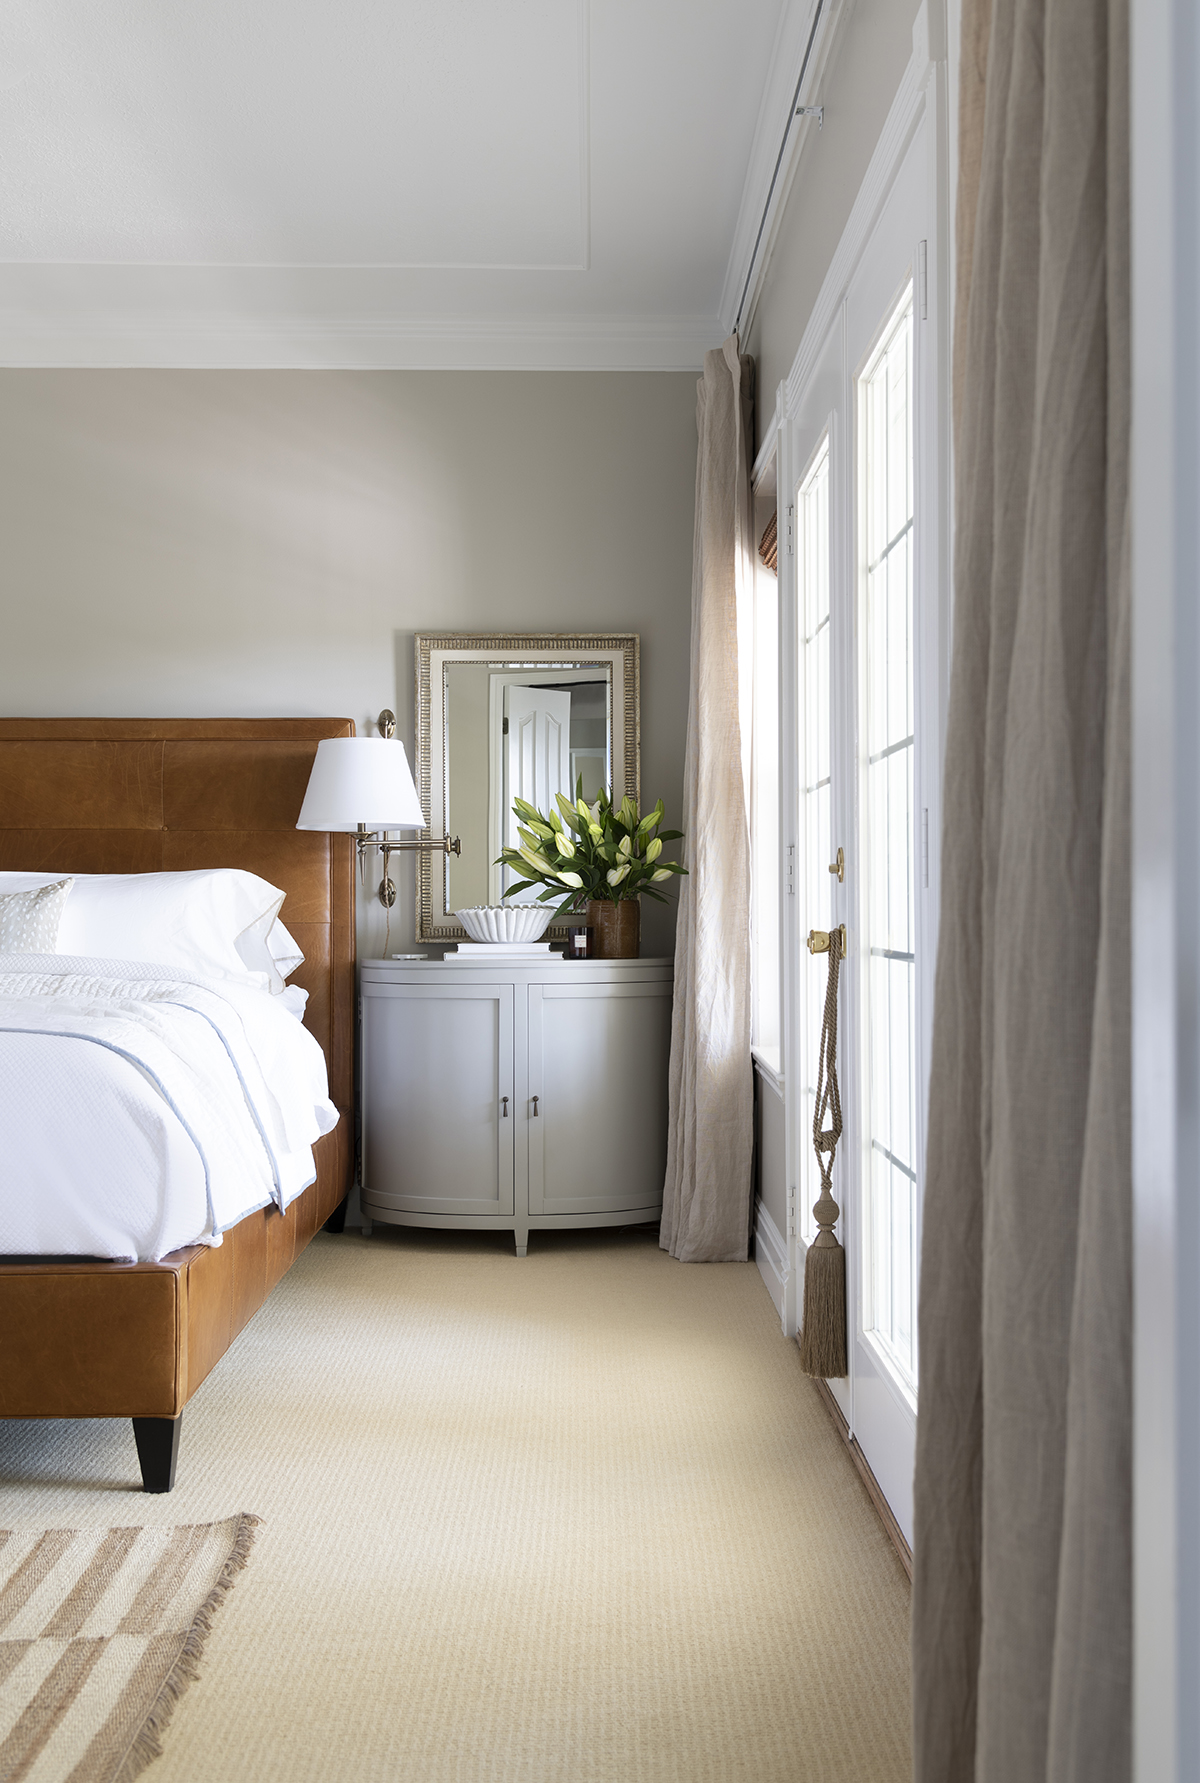
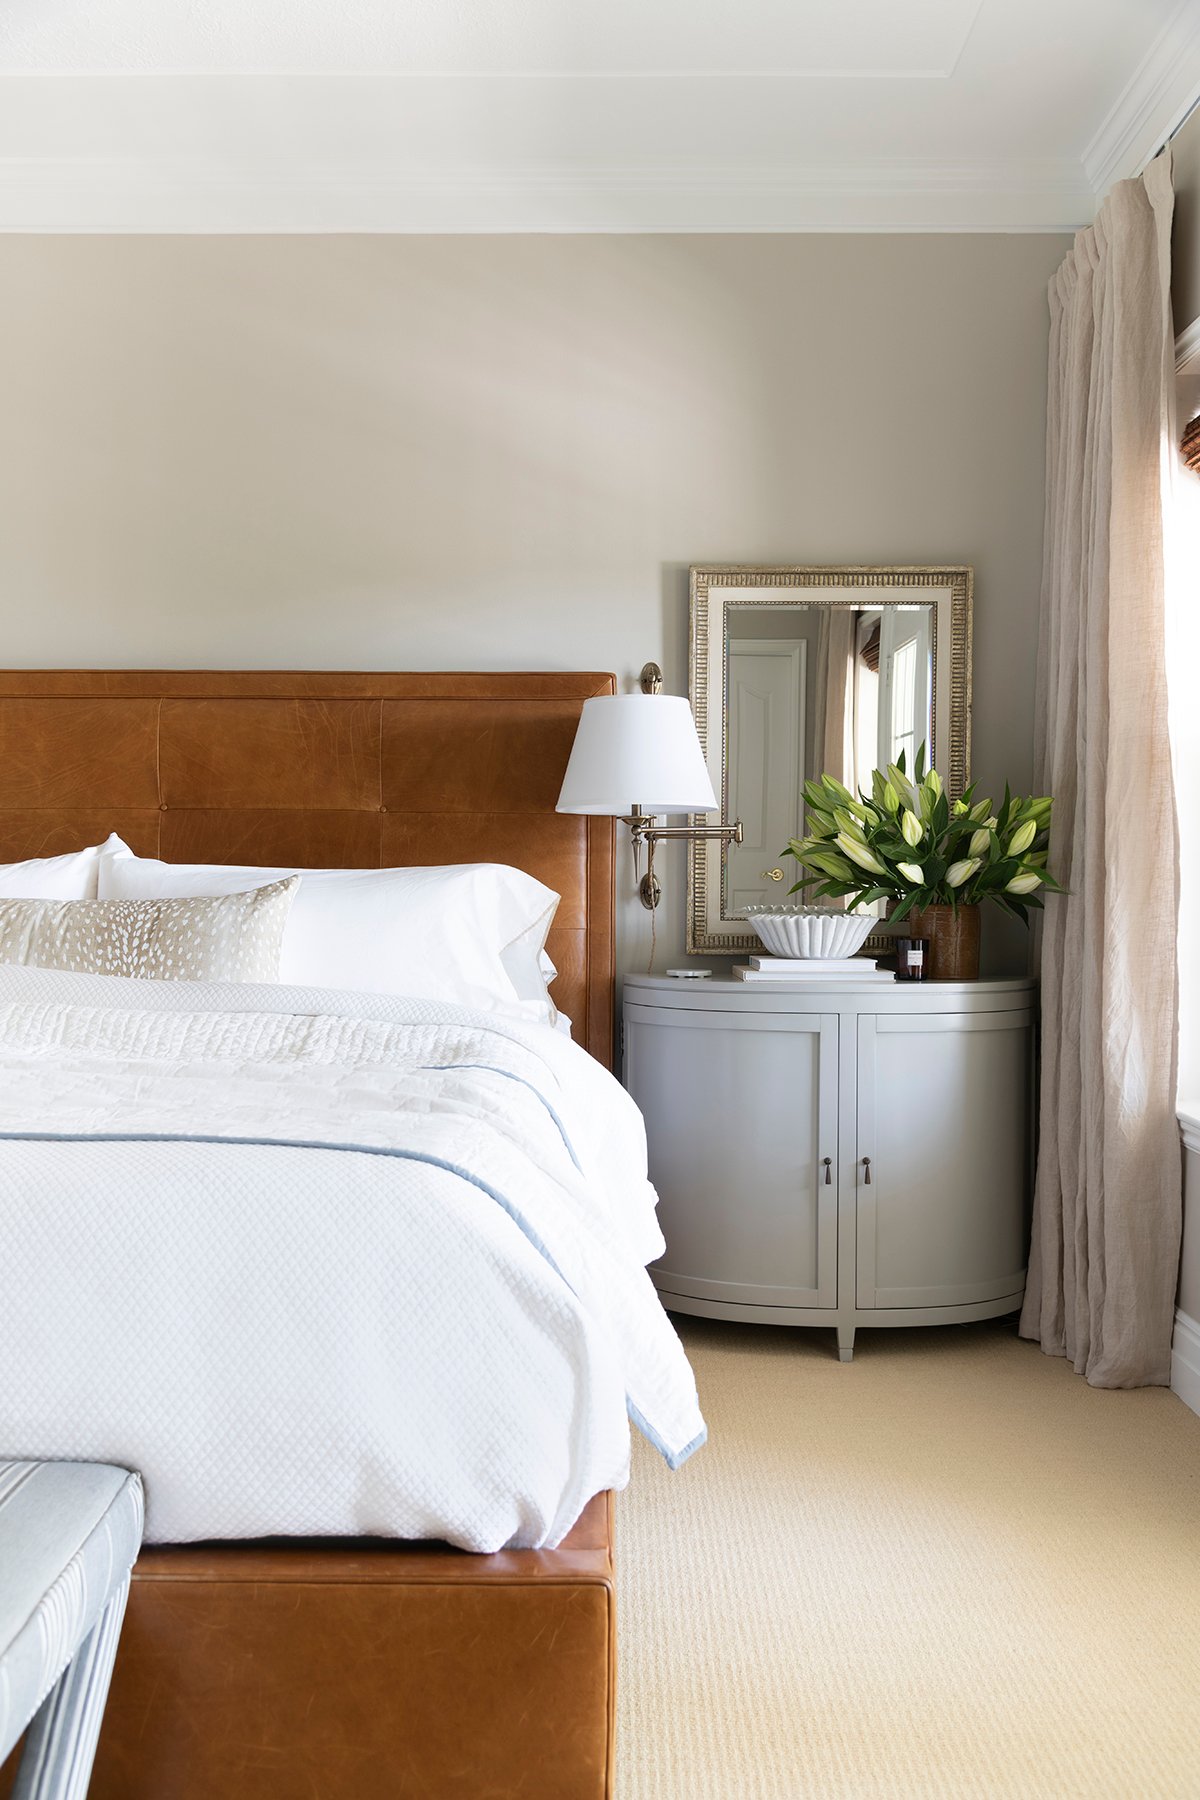
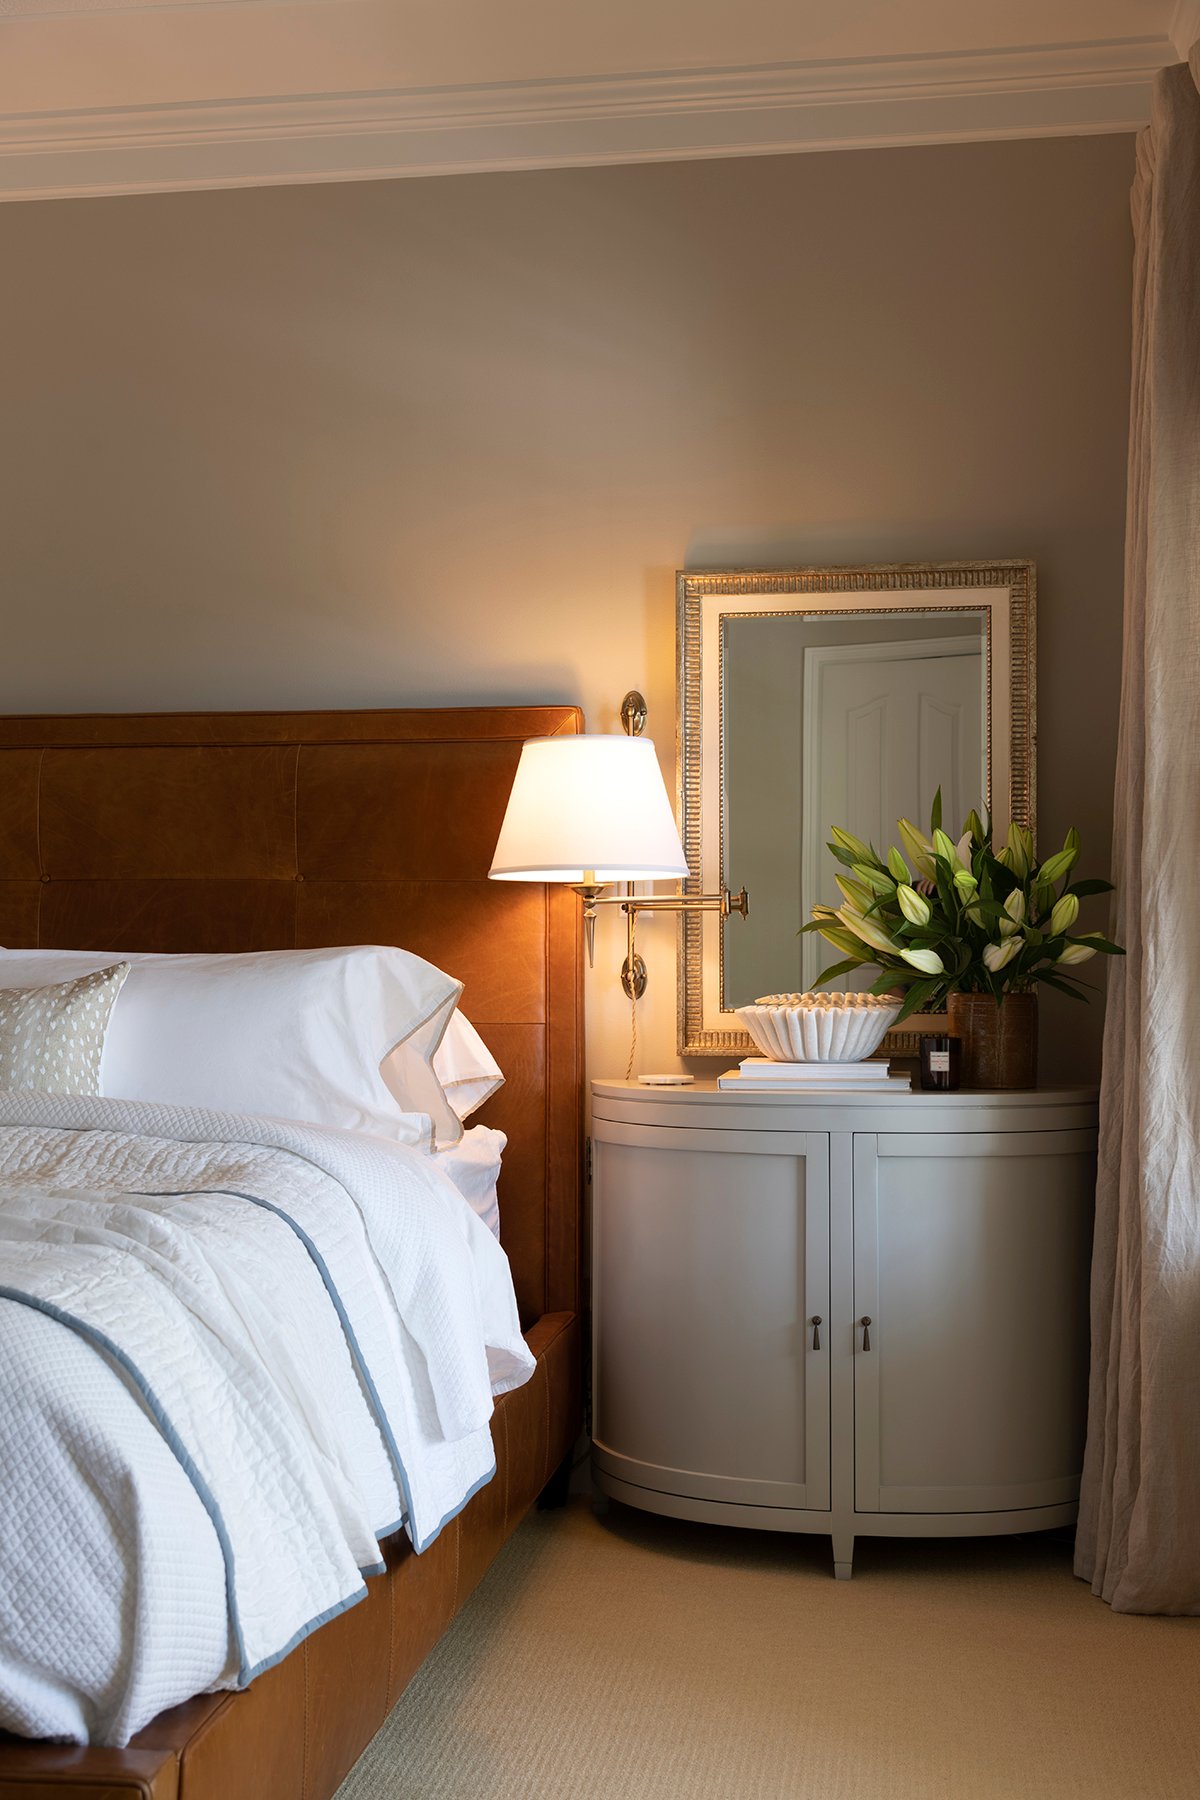
The first and most noticeable upgrade? The nightstands (you know I love a demilune!) . I replaced our old mismatched pair with two beautiful demilune tables from Ballard. I love their curved shape and classic lines. They have more storage than I honestly need, and they fill the space so much better.
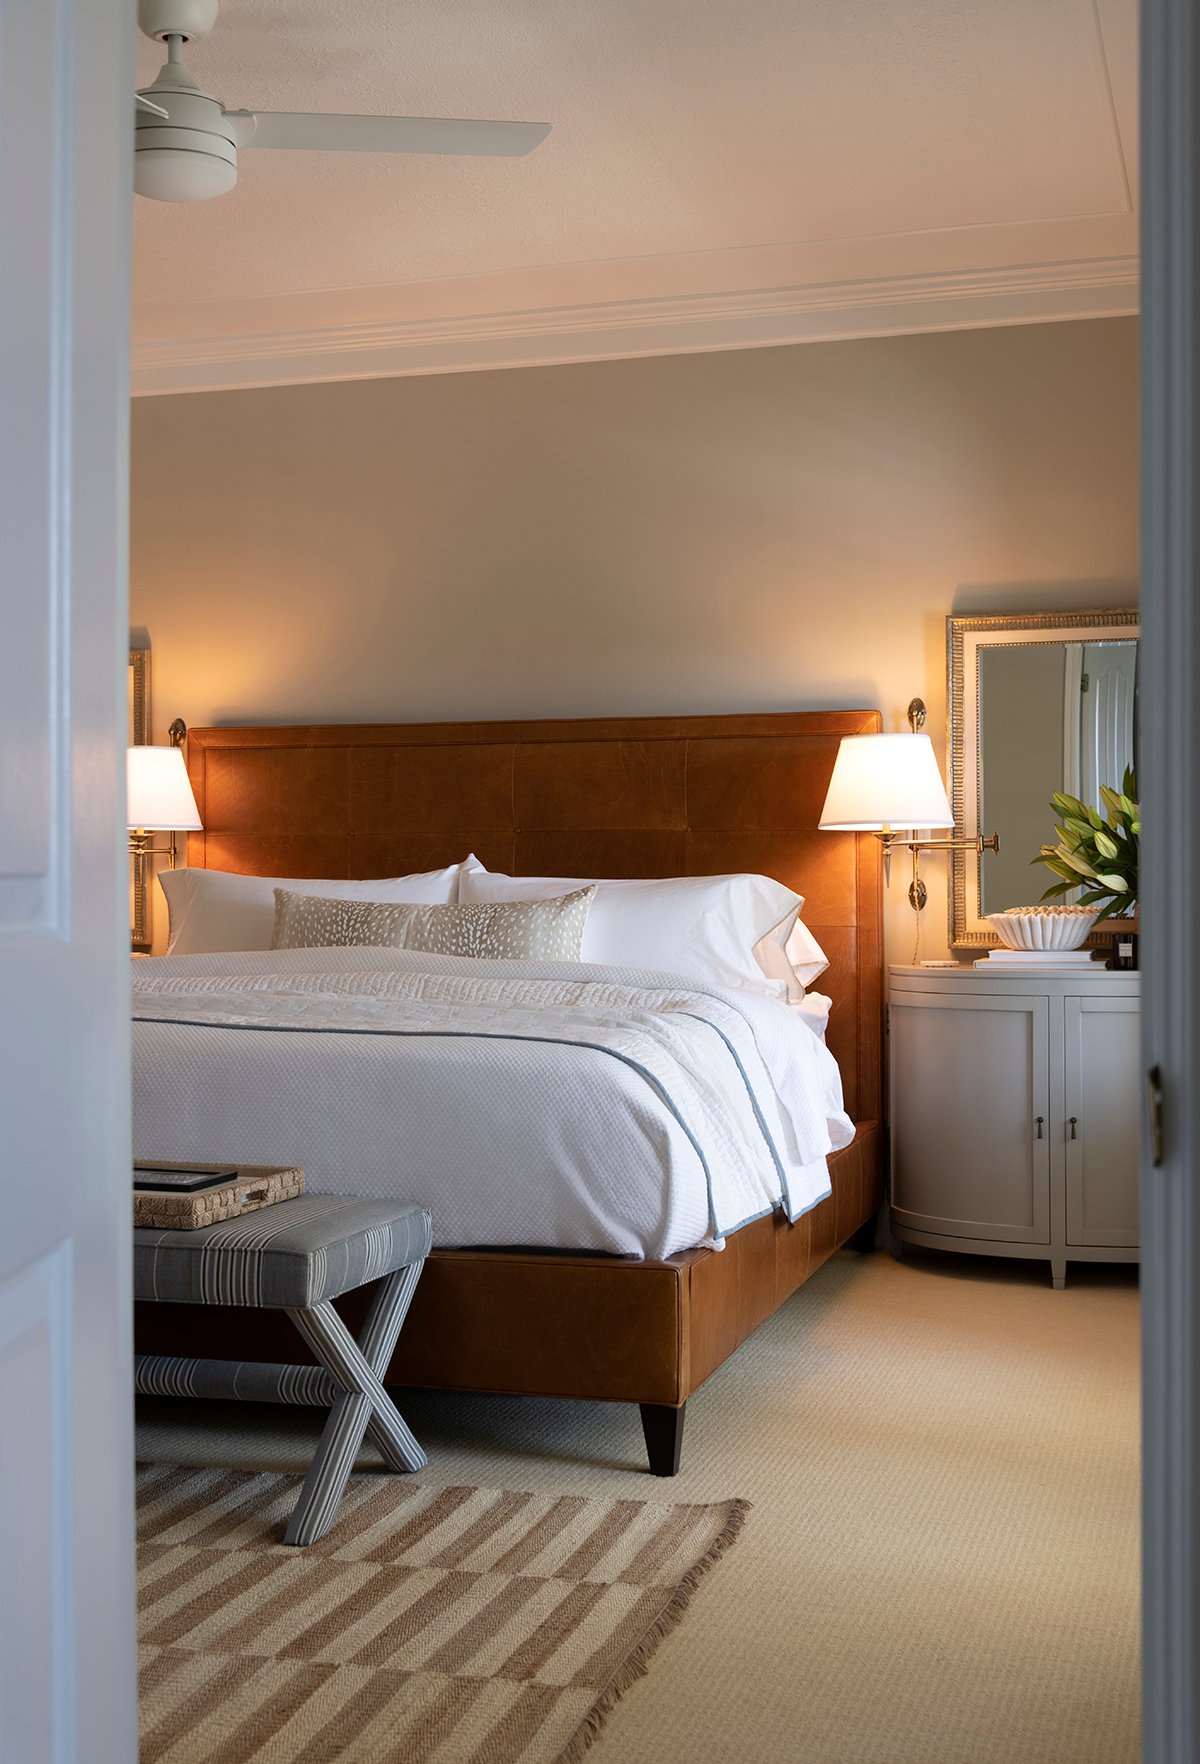
I paired them with adjustable wall sconces. These have quickly become my favorite feature in the room. They’re functional, beautiful, and they add a soft layered glow in the evening.
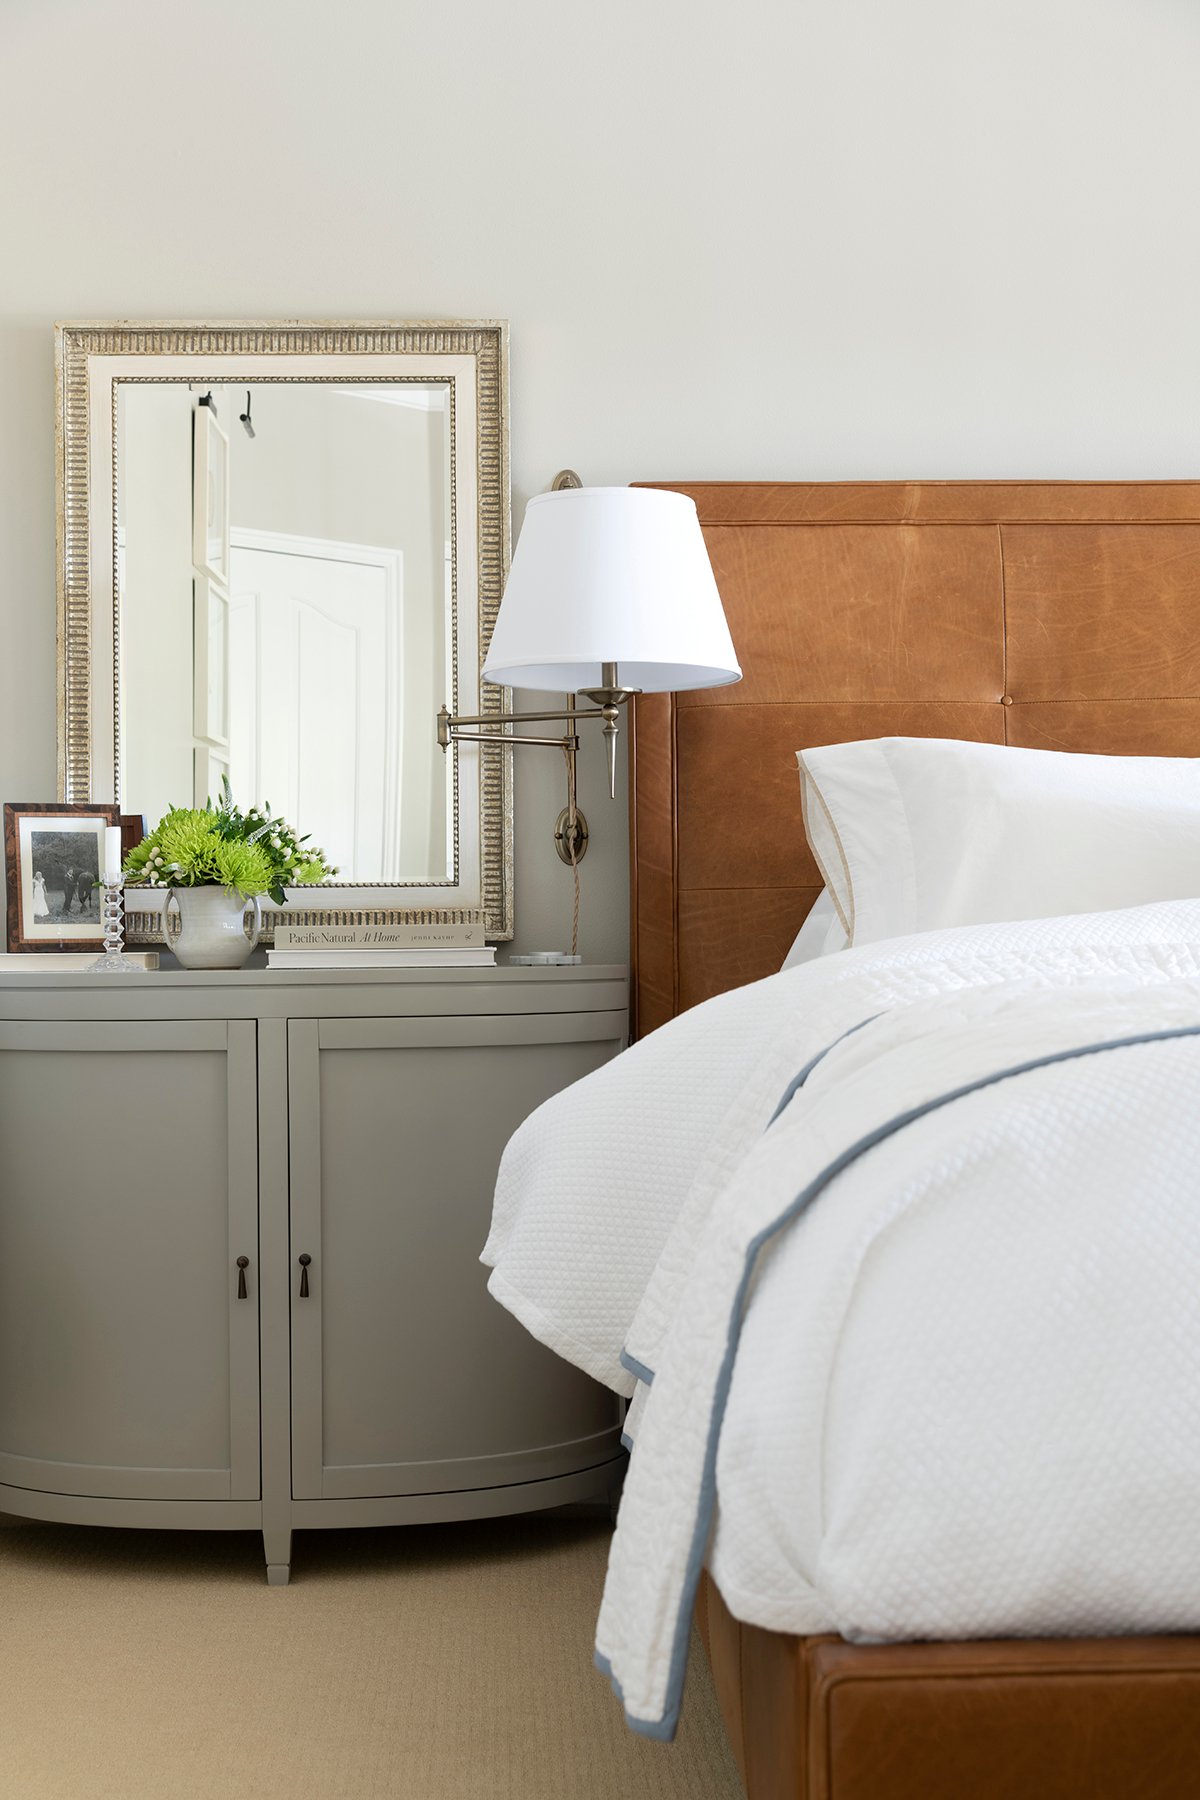
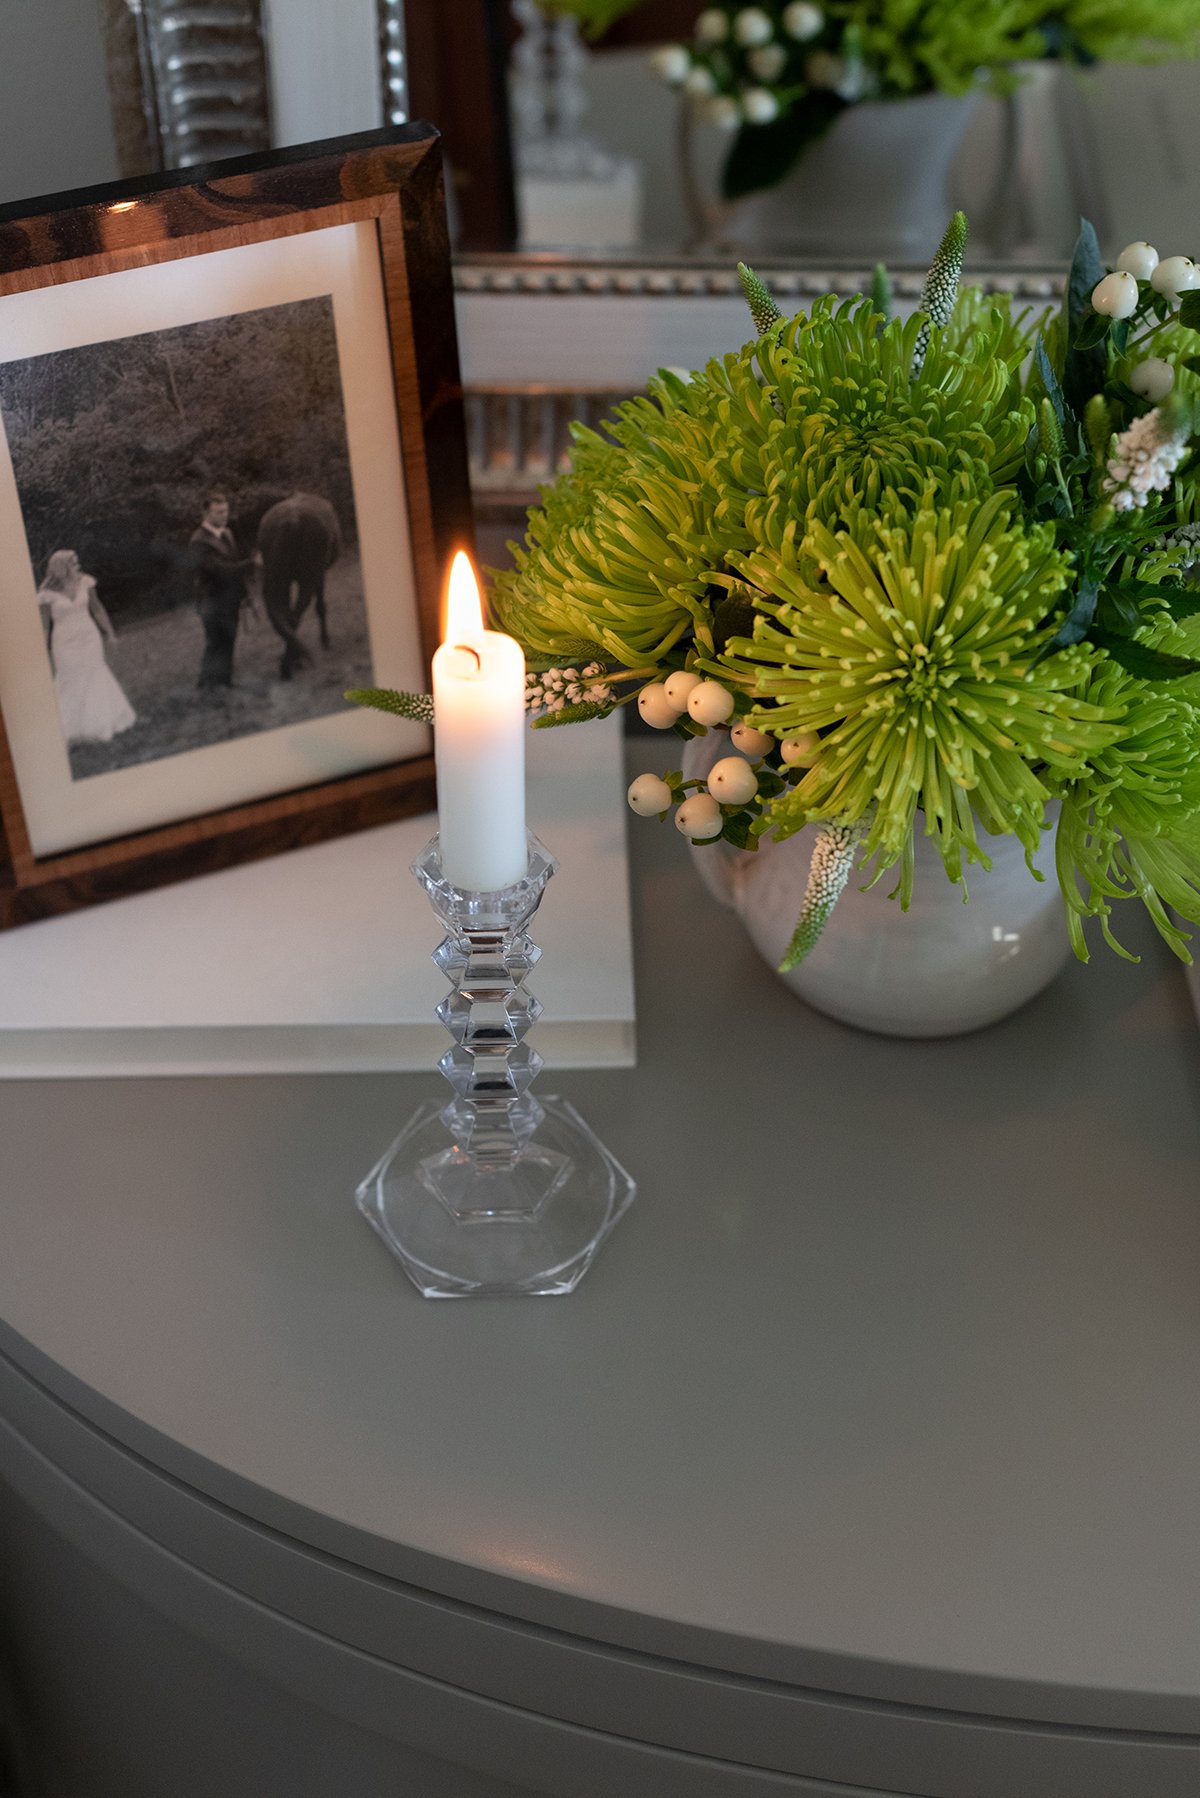
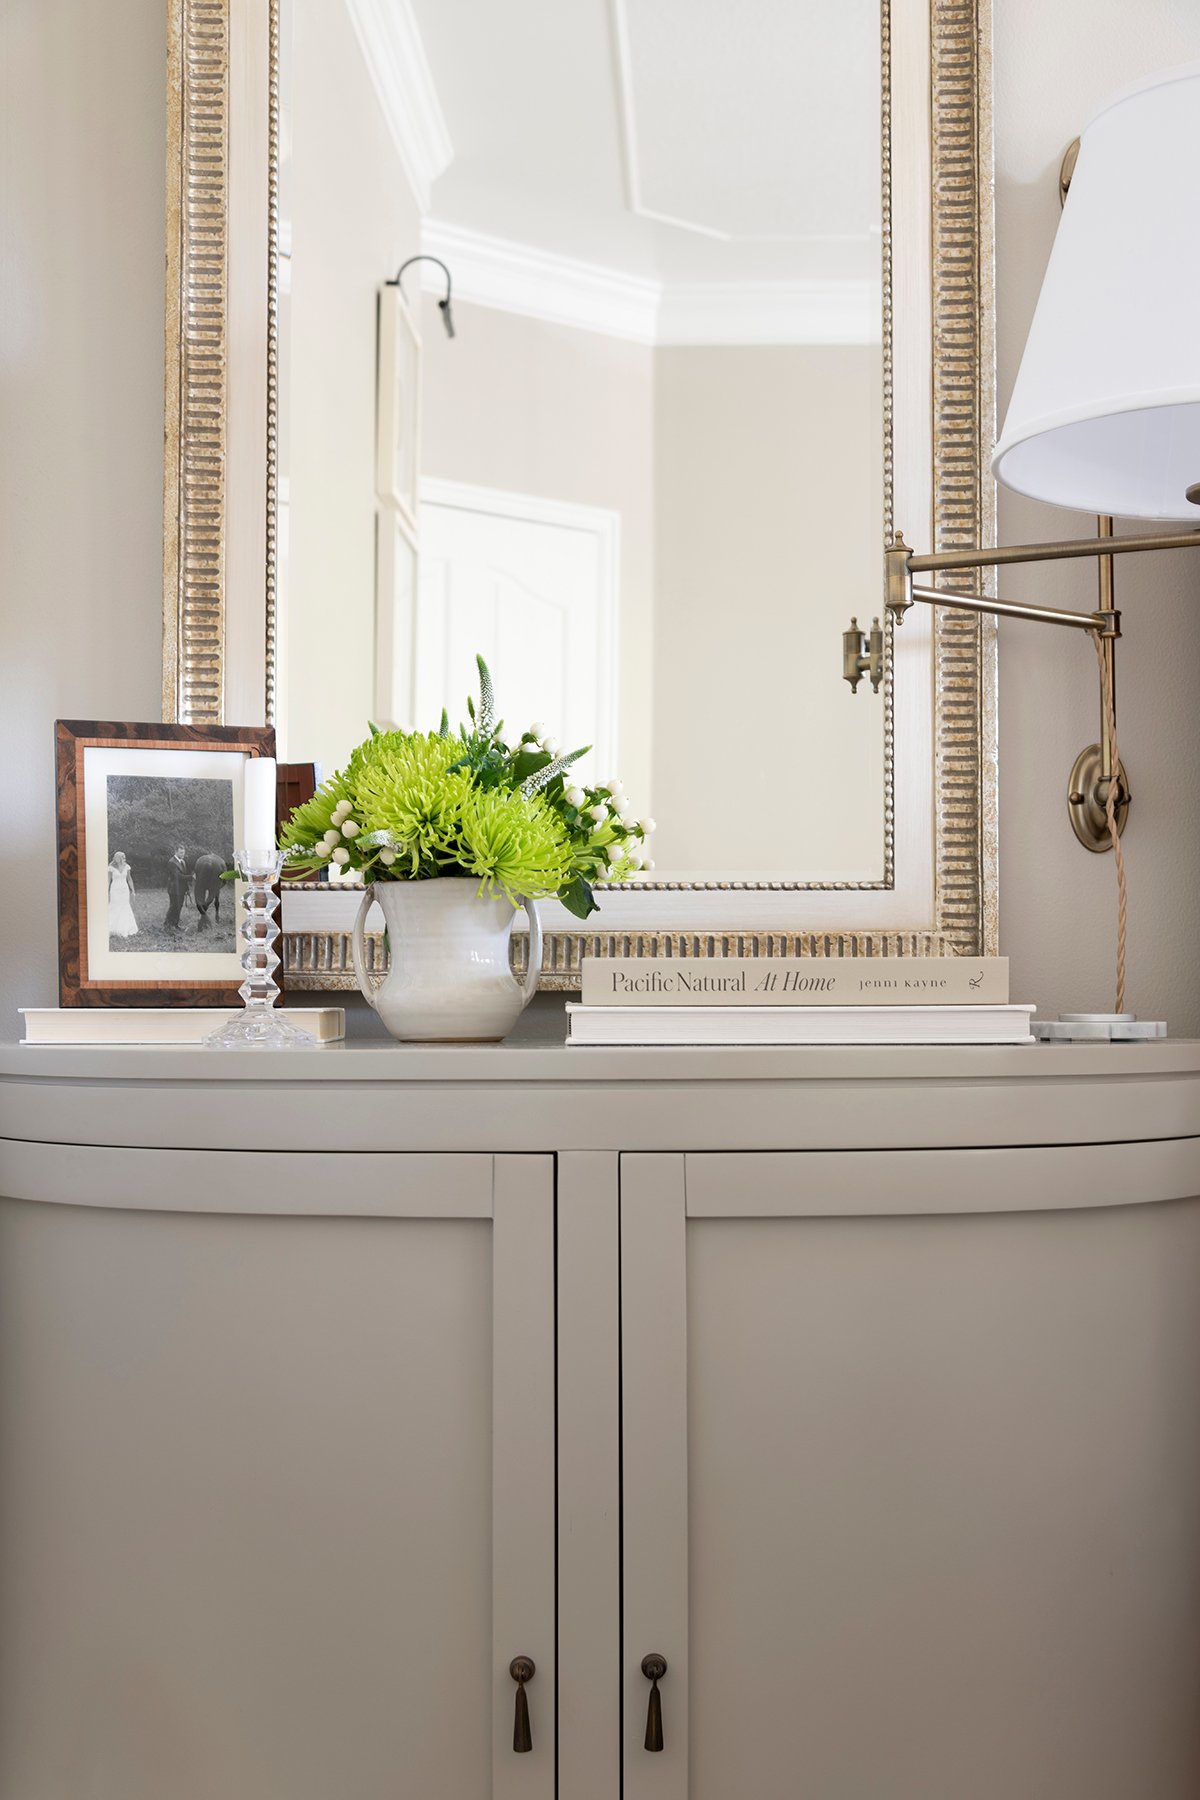
I kept my nightstand pretty simple and practical, but I did pull out a photo of Emmett and me… which I almost never do. Long story short, our wedding photographer completely ghosted us, so the only photos we have from that day were snapped on our parents’ old flip phones (yep, really). I figured if I’m ever going to display one, our bedroom is the best spot. I finally put those beautiful Italian frames I’ve been hoarding to good use.
These demilune bedside tables offer way more closed storage than I actually need, which is a nice problem to have. I added a couple of baskets inside to help keep things organized- books, chargers, headphones, and my Bluetooth speaker all have a home now. I also keep a wireless charger on top for easy access. Want to know a little trick I use?
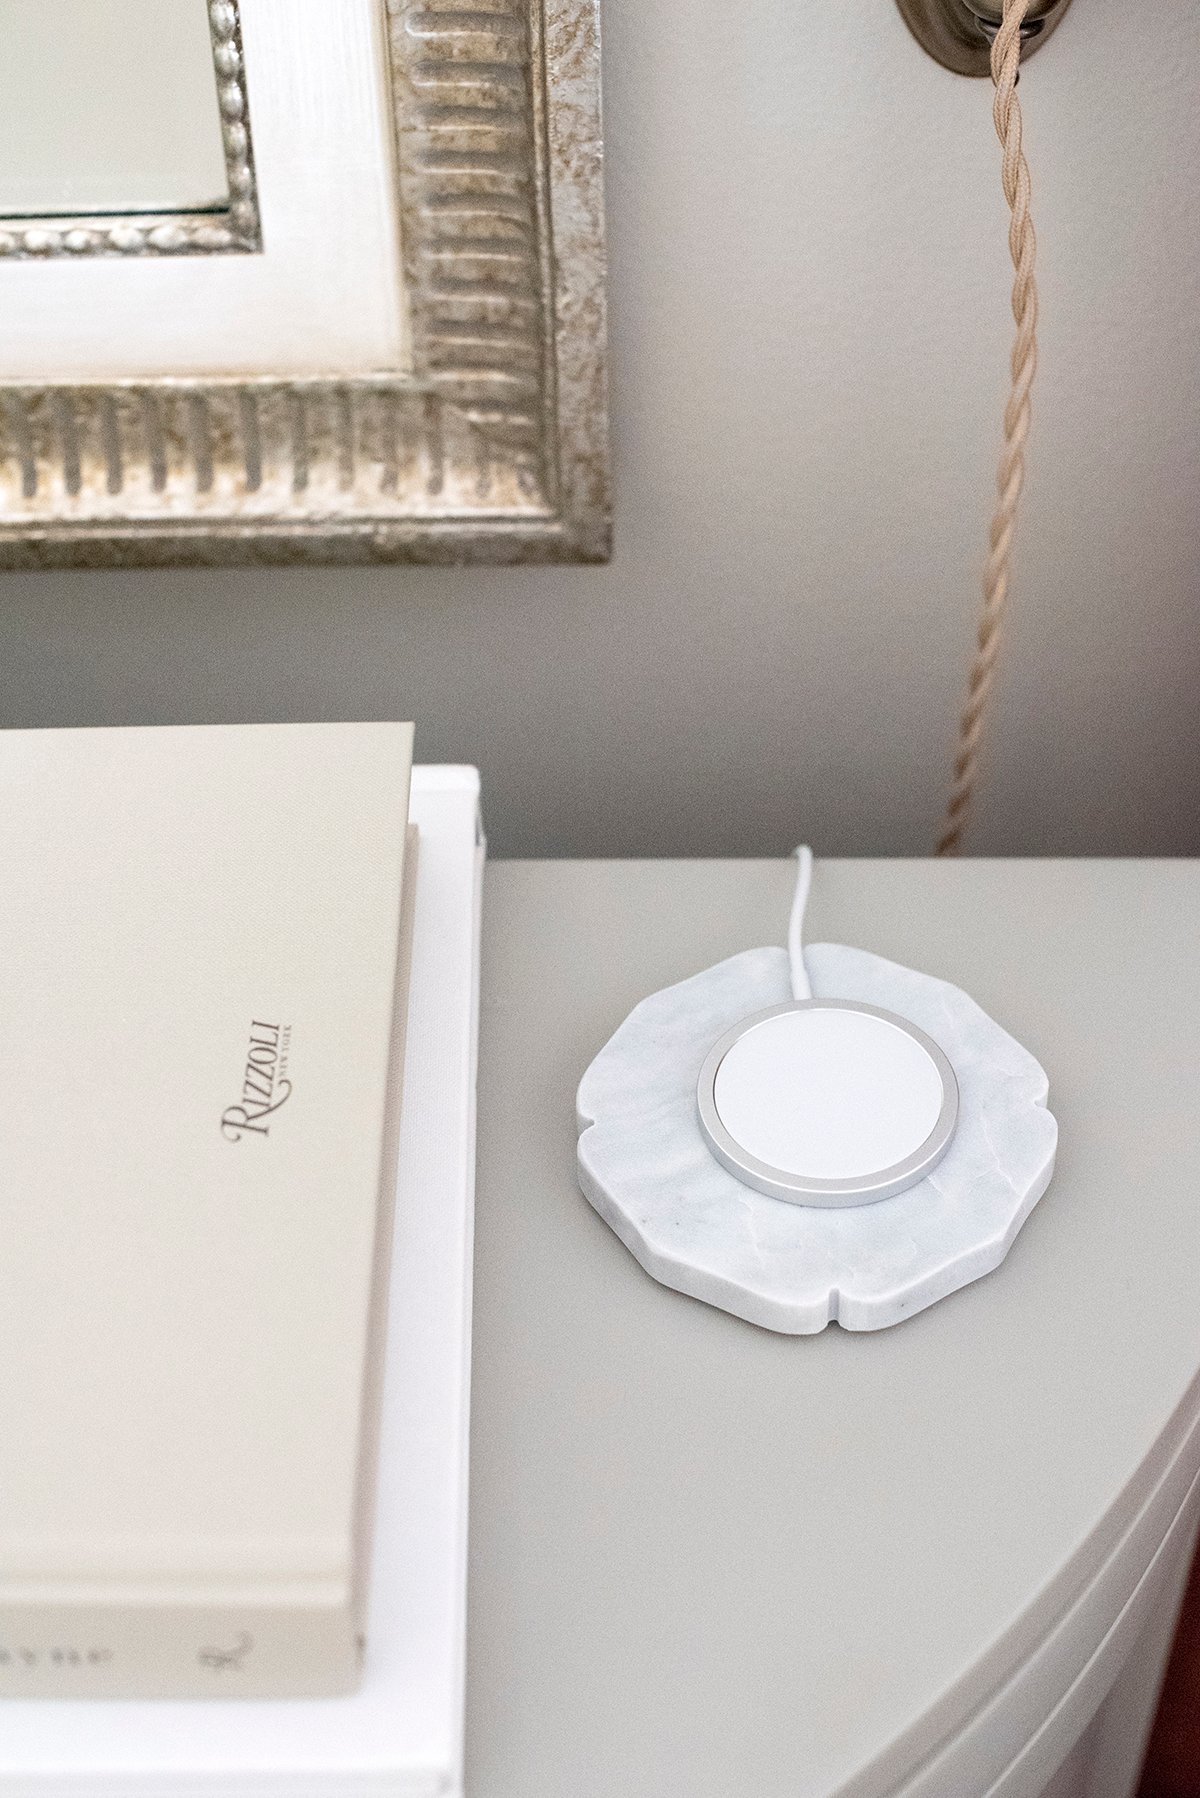
I set my wireless phone charger on top of a marble coaster to dress it up a bit. It’s an easy little styling trick that makes it look more elevated, and I can still use the coaster for a glass of water, if needed. I just think it looks nicer! I rest my phone on top every evening for easy charging and call it a night…
Also on “my side” of the bedroom, I added one of my animal print chairs I restored a few years back. I get ready for the day in our primary suite, and I thought a chair might be helpful for that… plus it’s an extra surface to drop items. This also felt like the perfect vignette to add artwork and install an additional layered light source. How pretty are these dimensional intaglios?
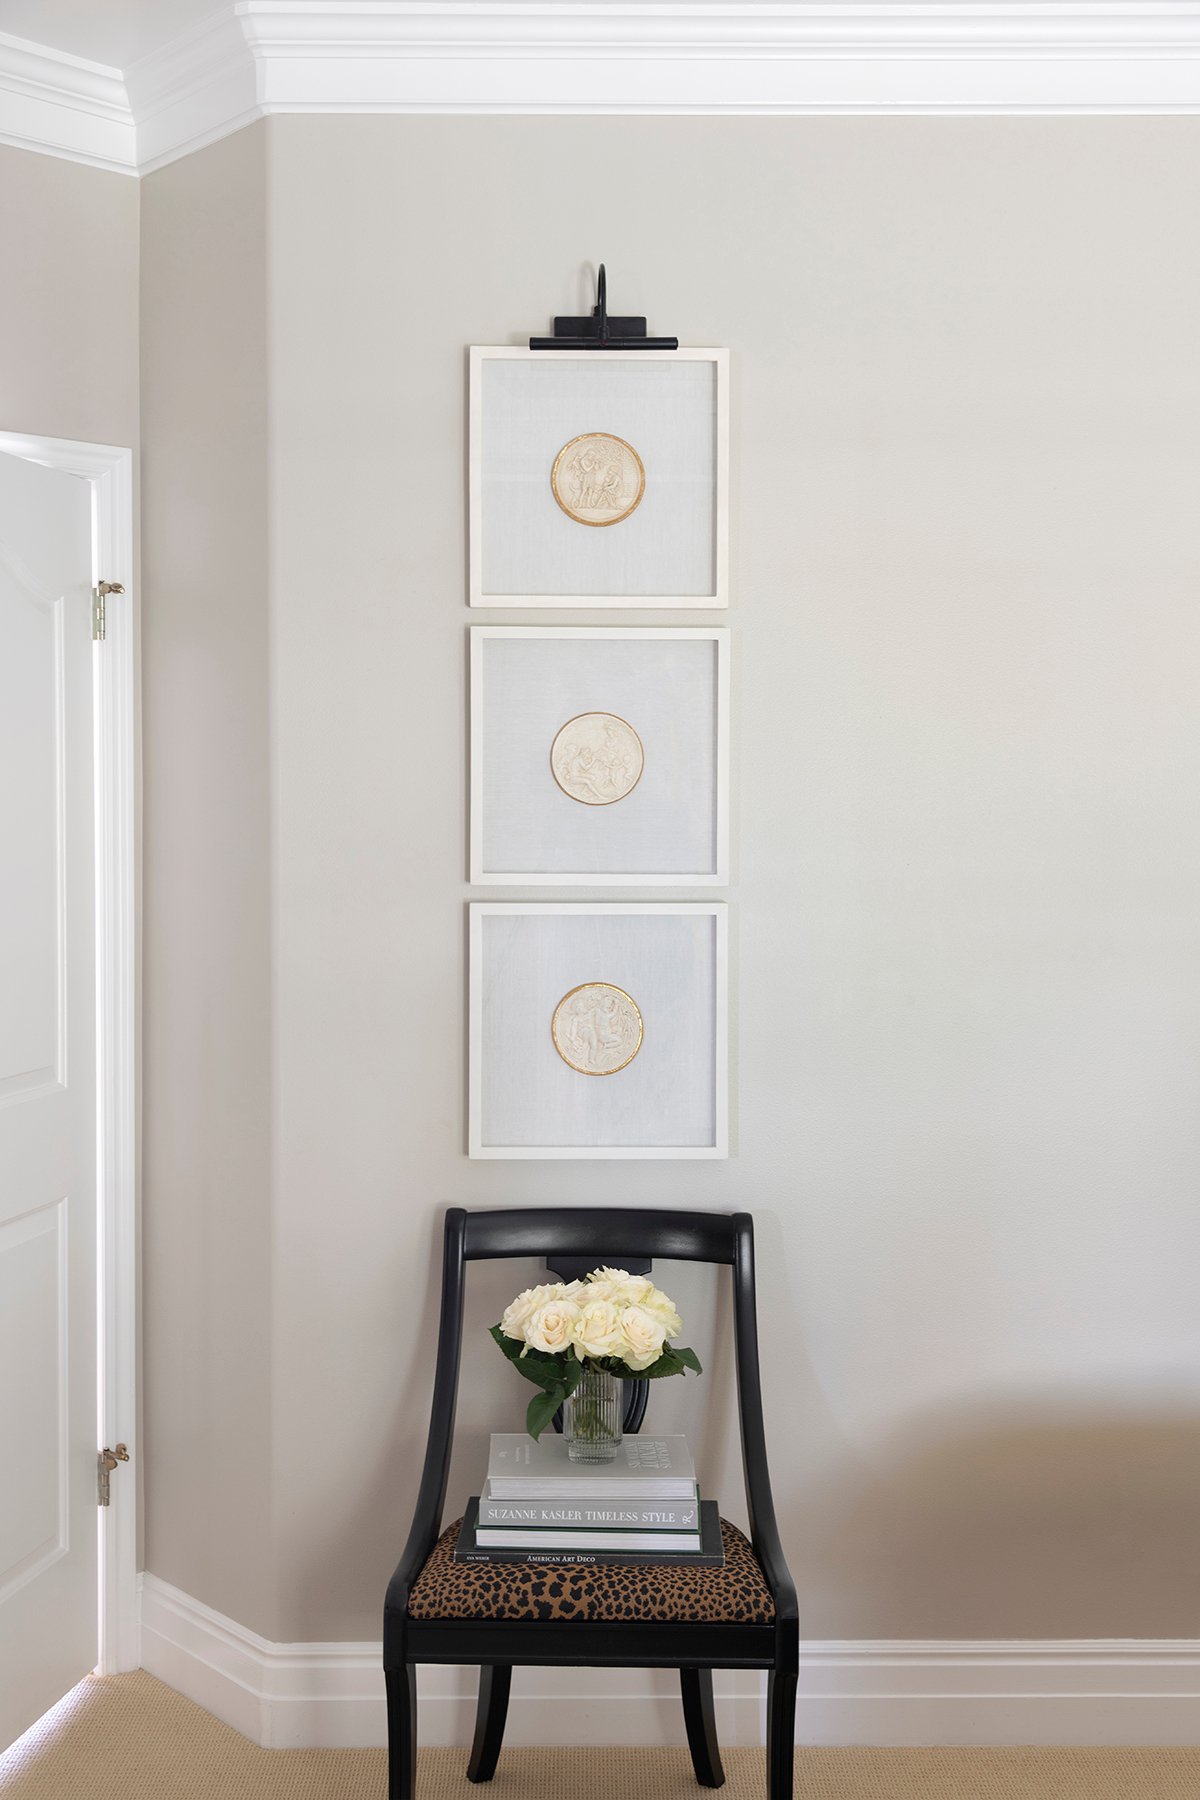
Styling Tips That Make a Big Difference
I didn’t paint. I didn’t install new flooring. But I did layer in new bedding, switch out hardware, and add functional accessories that brought the whole room up a level. I used medium weight bedding to match the season and stuck with my favorite formula for a layered bed: crisp white sheets with a contrast edge, a medium weight quilt, and a timeless matélasse.
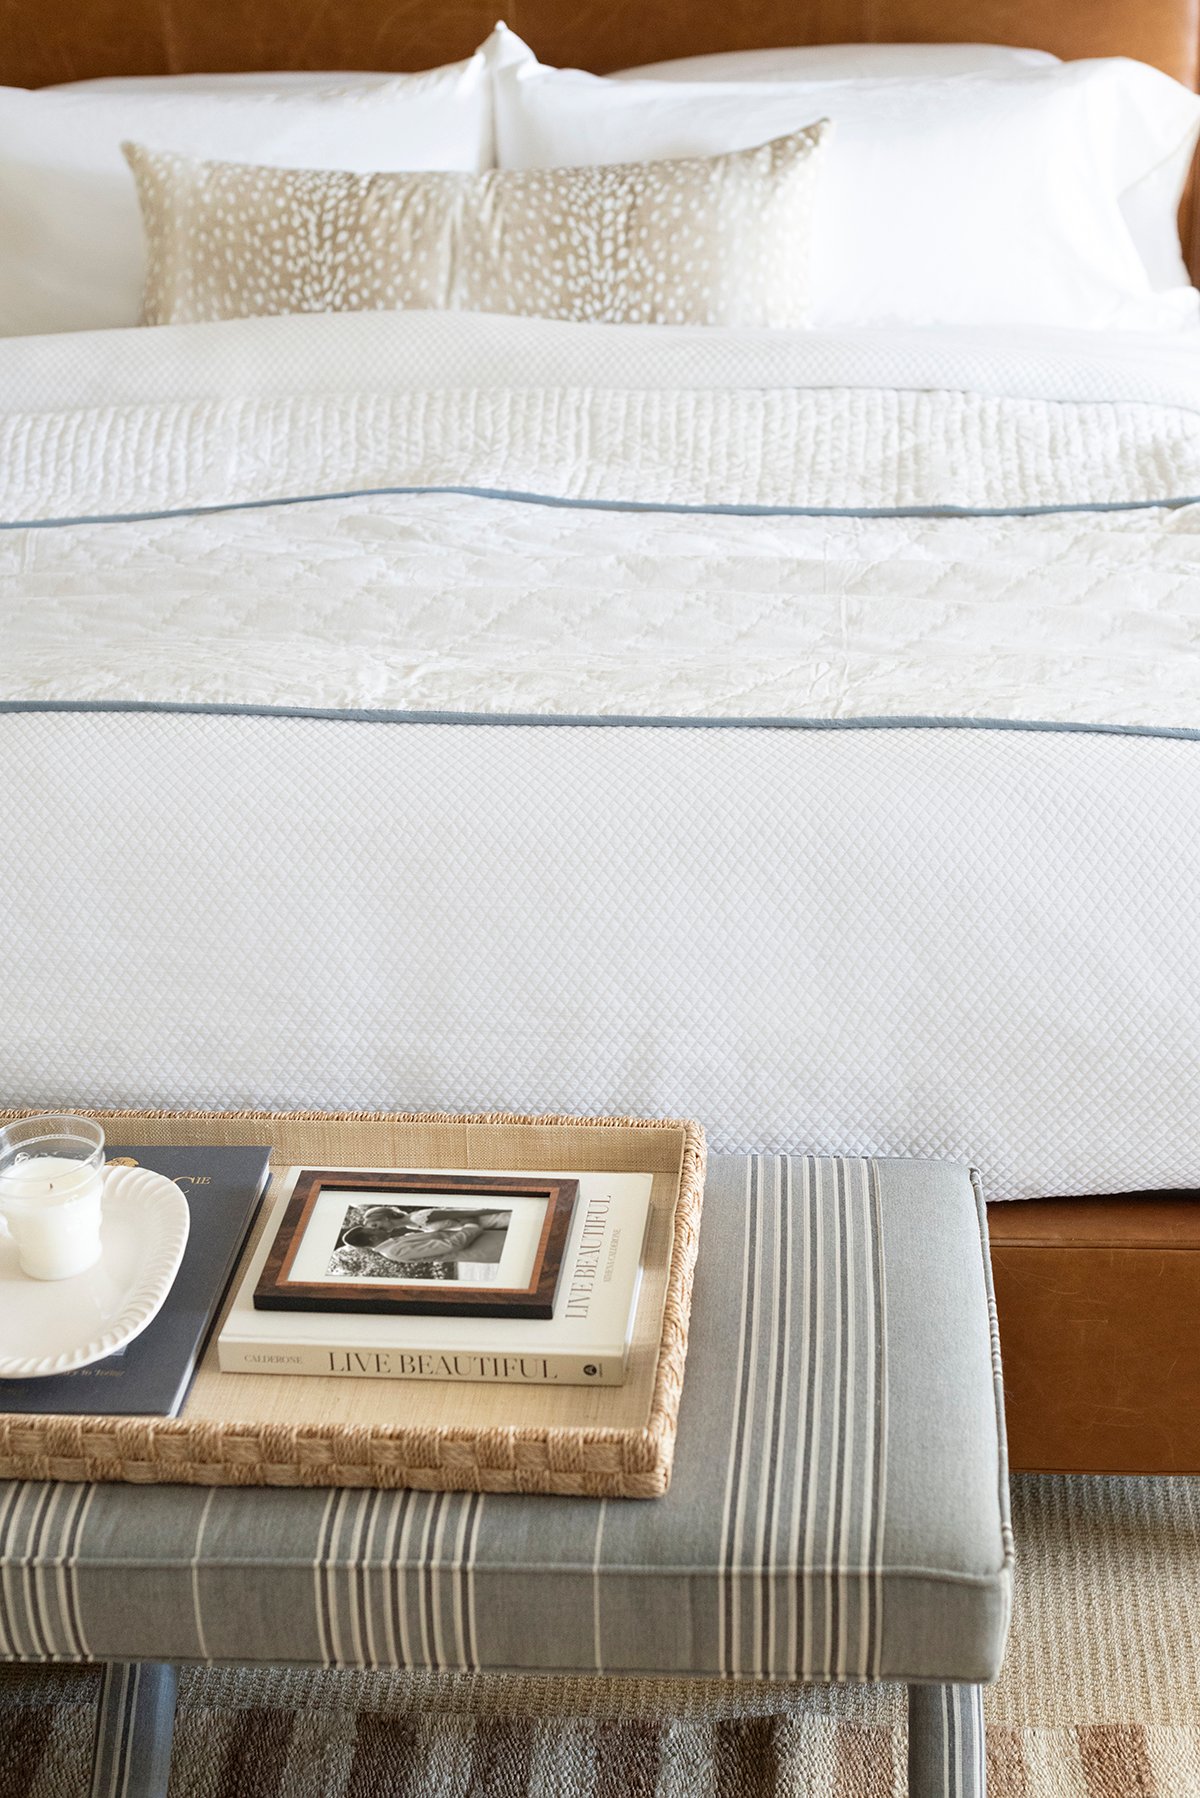
I also layered a geometric area rug over our existing wool carpet. That choice was purely aesthetic, but it really anchored the room. Sisal is always a good idea in high-traffic zones. Check out this post for the best natural fiber area rugs.
Even the bench at the foot of our bed got a little refresh. Normally Crosby takes that spot for naps, but when I style it- I like to keep a tray on top.
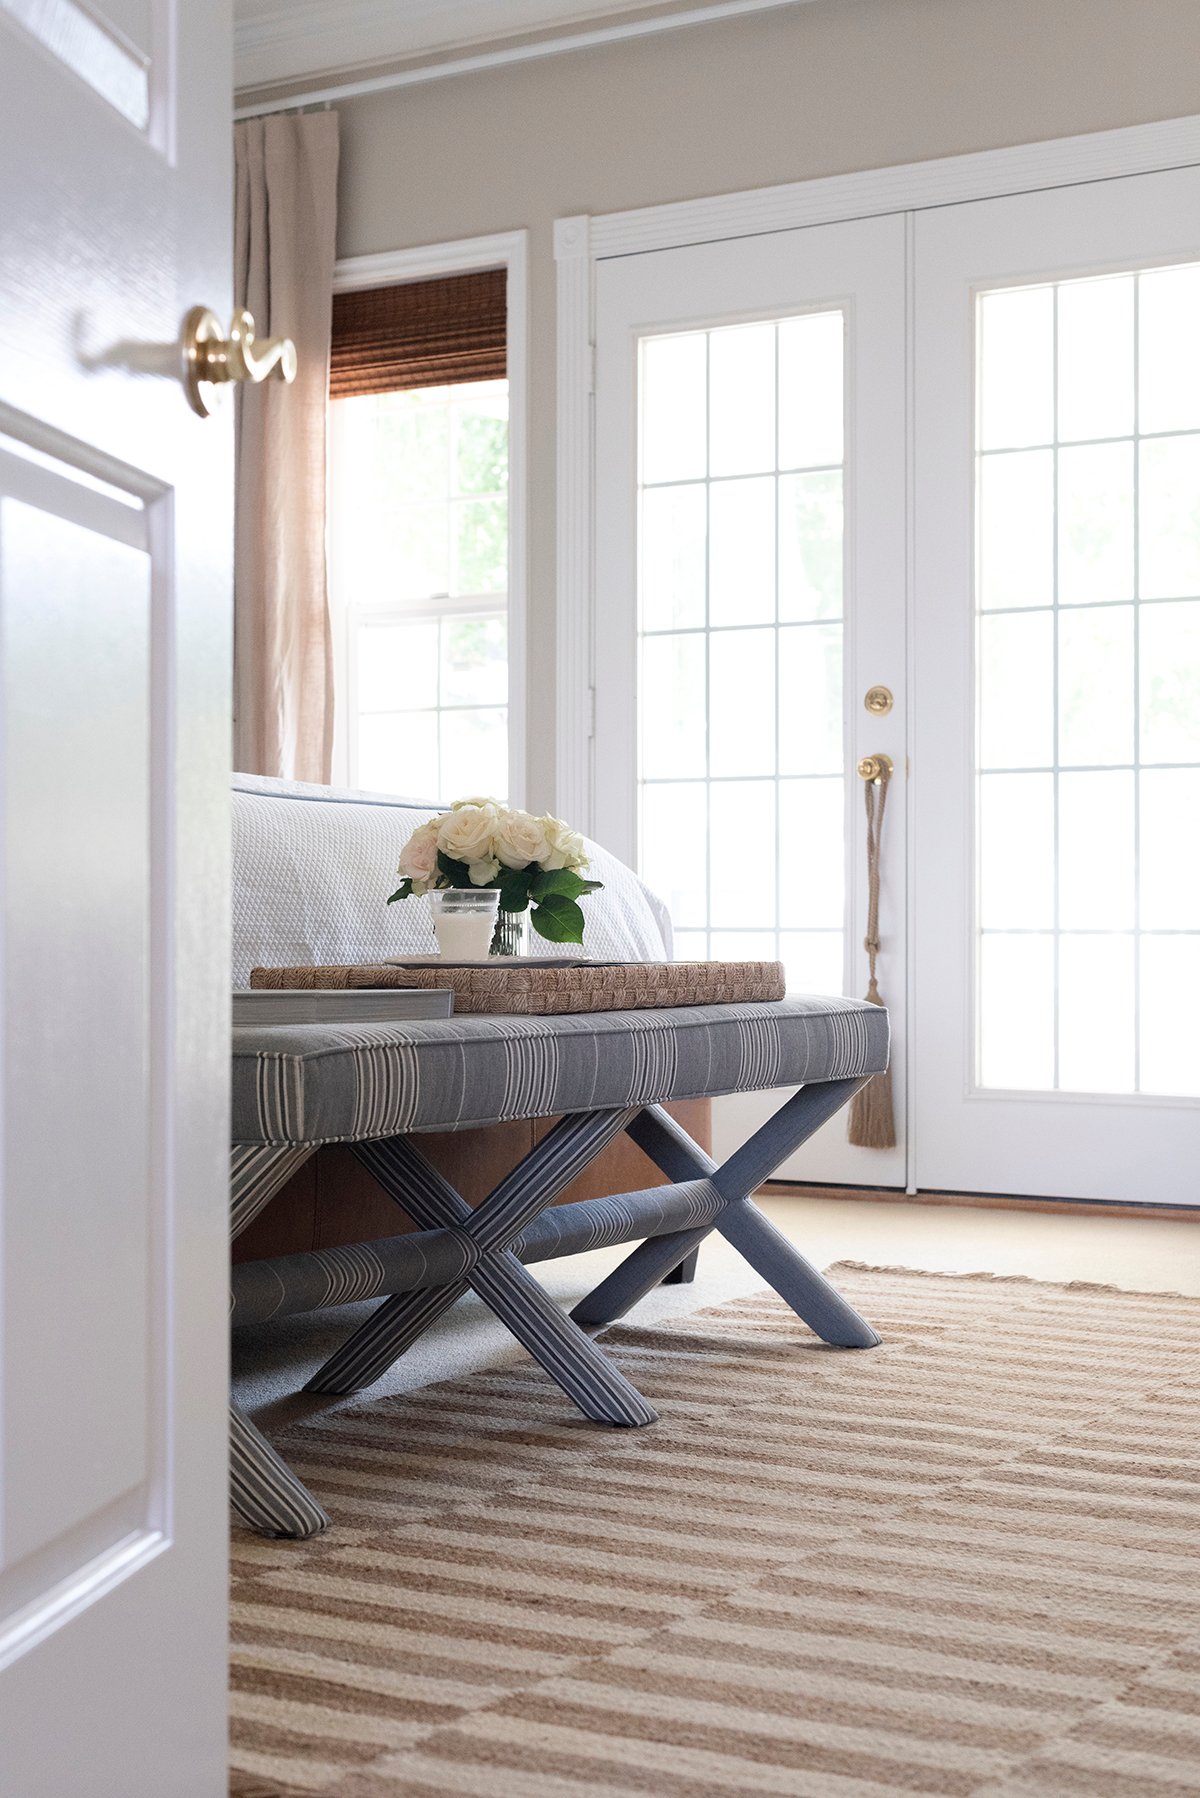
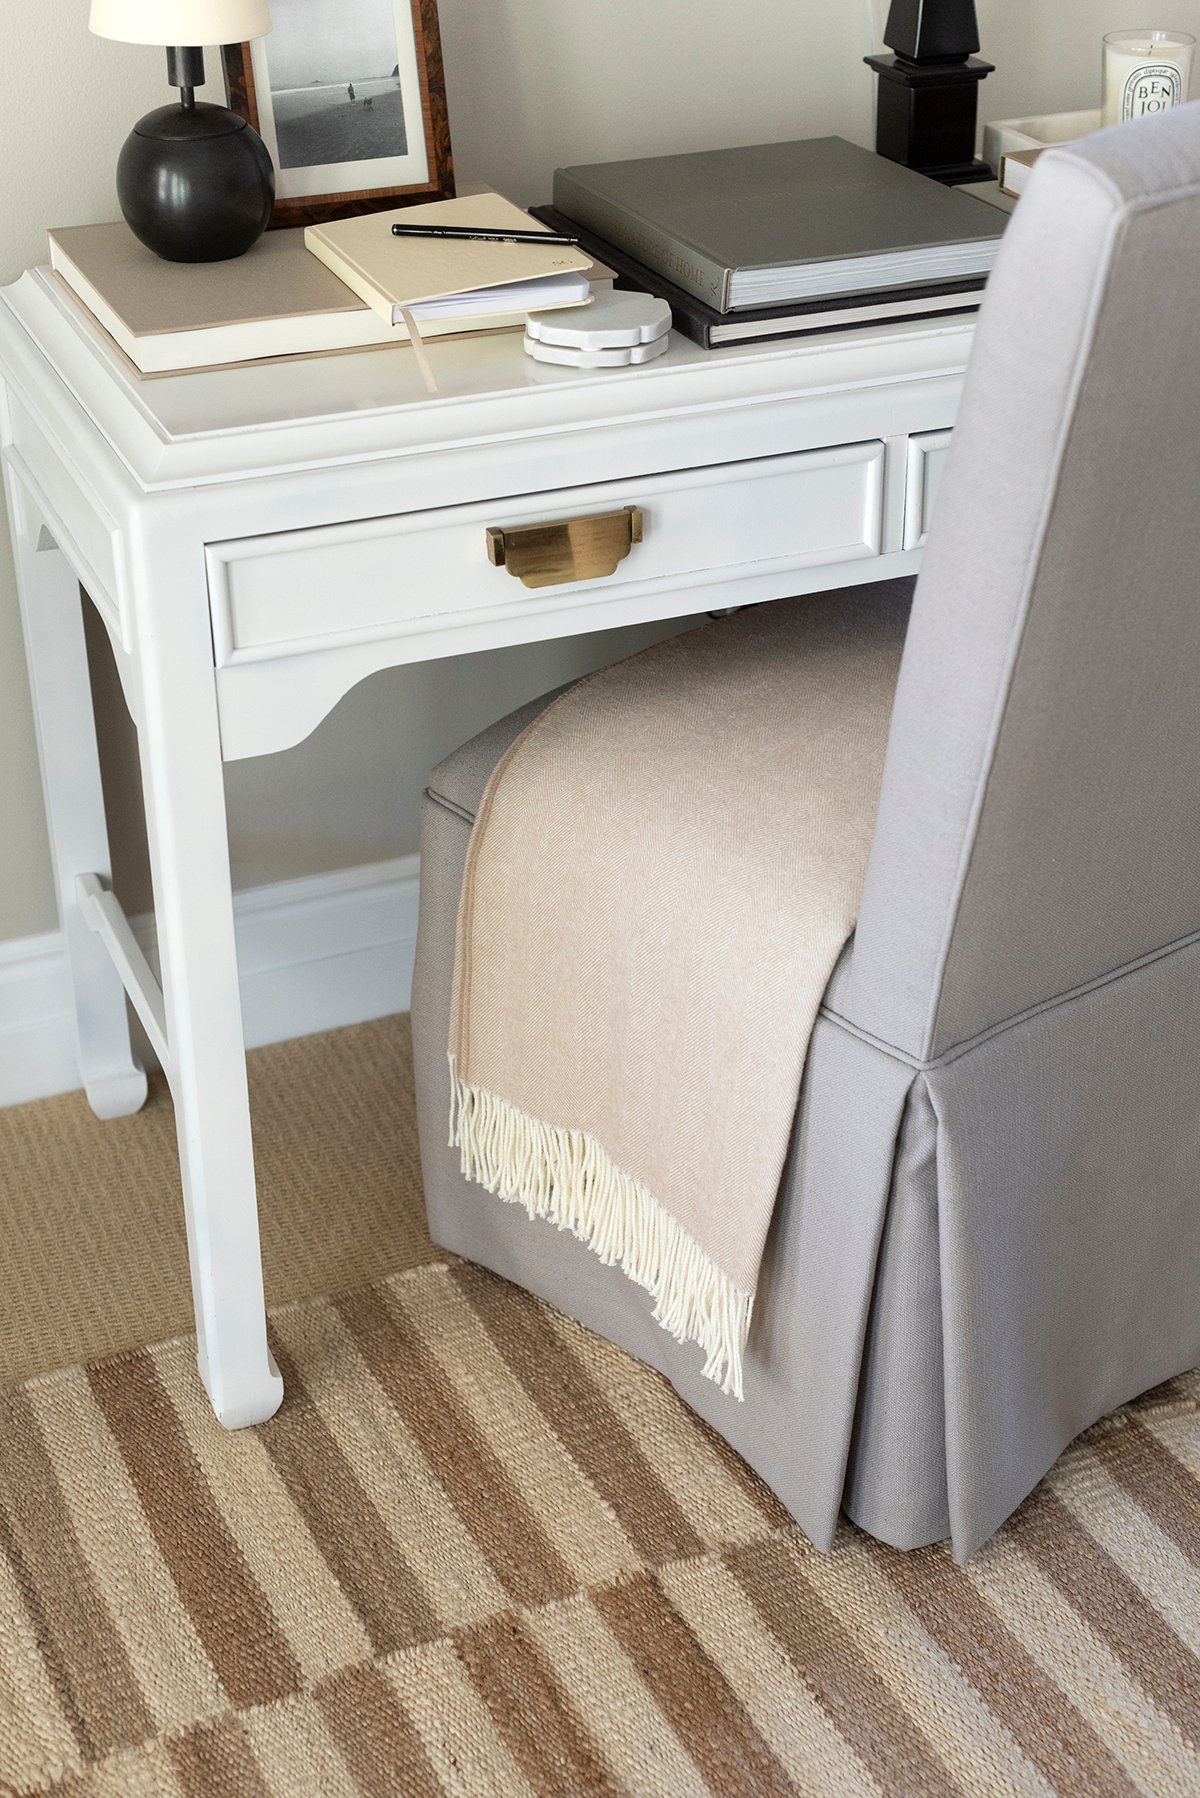
Across from the bed and the bench, we also have a vintage enamel writing desk that sits beneath our Frame TV.
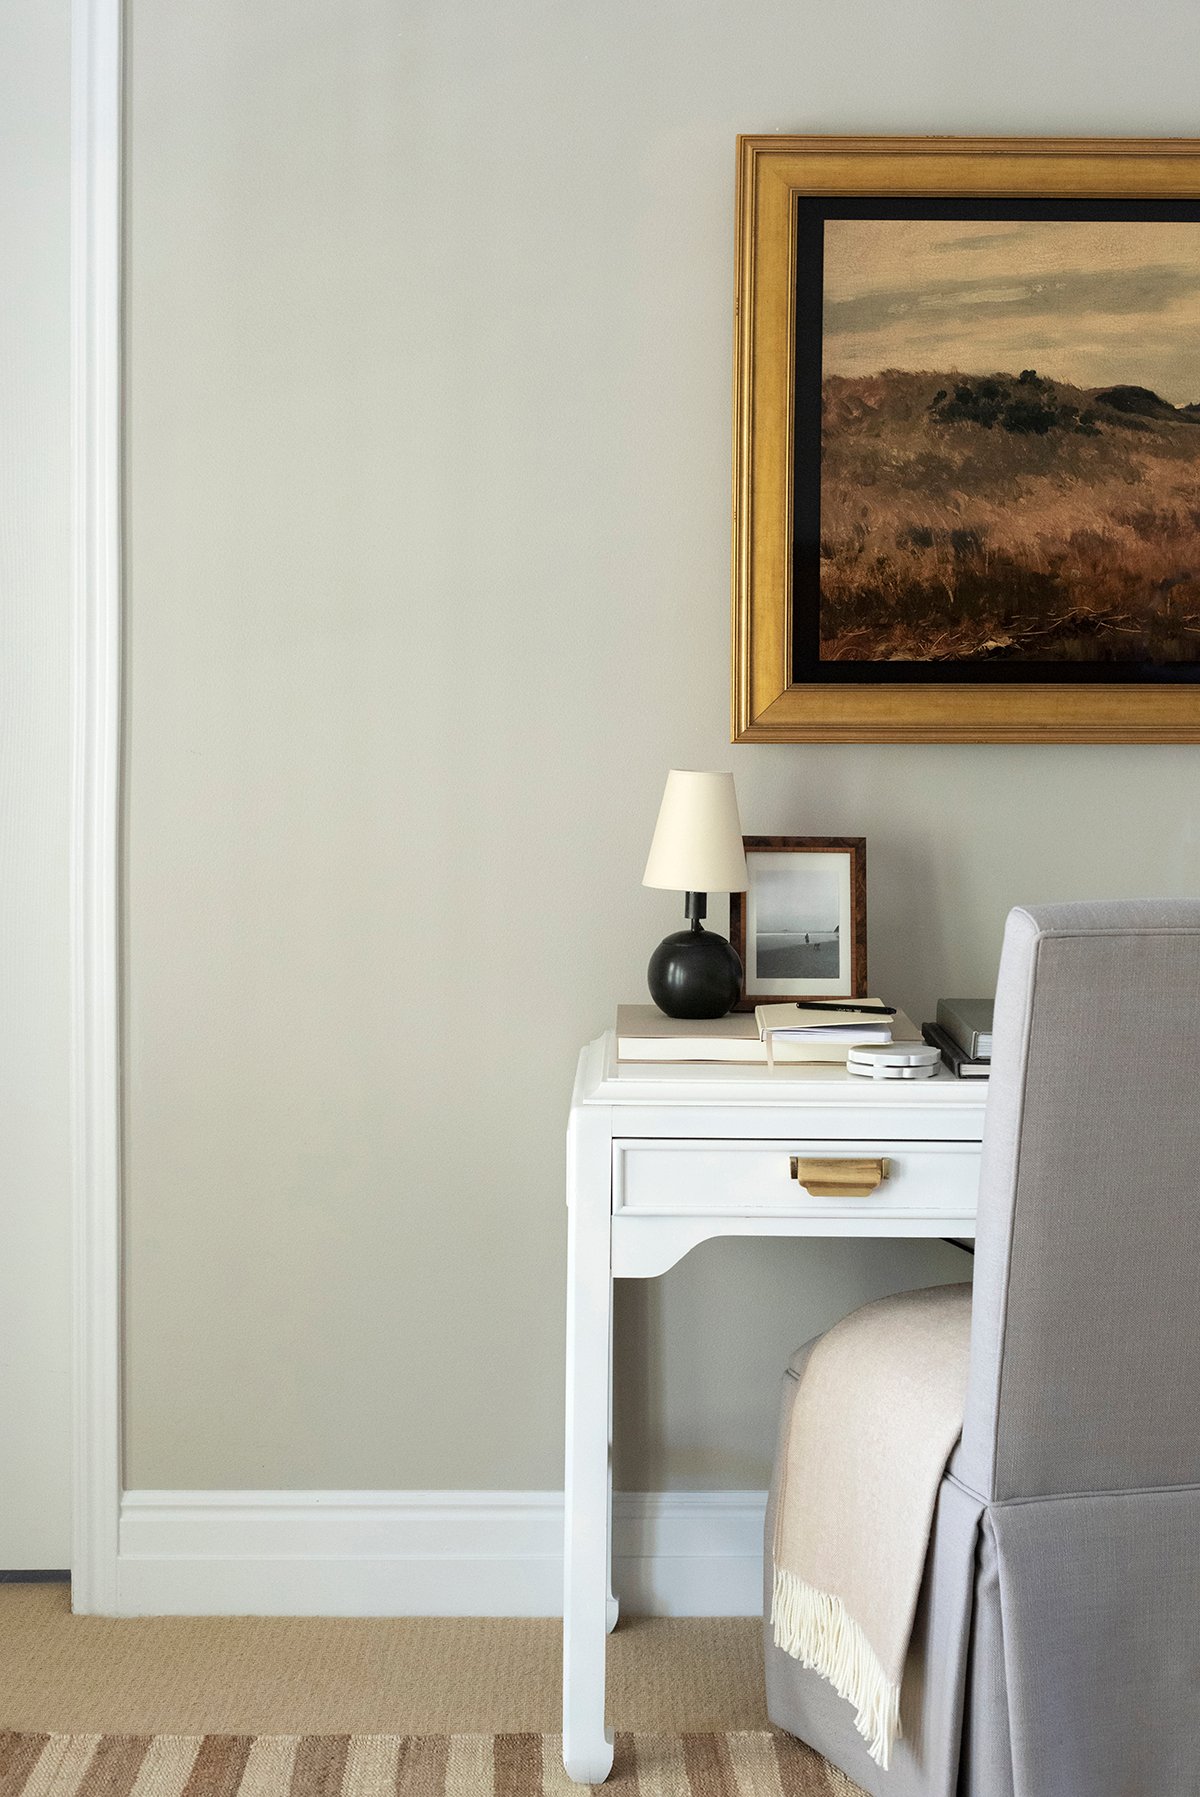
Every now and then I’ll sit here to journal or flip through a book, but most of the time it just works well as a visual anchor under our TV. It’s also a fun spot to style with little personal things, framed photos, candles, or whatever seasonal piece I’m into at the moment.
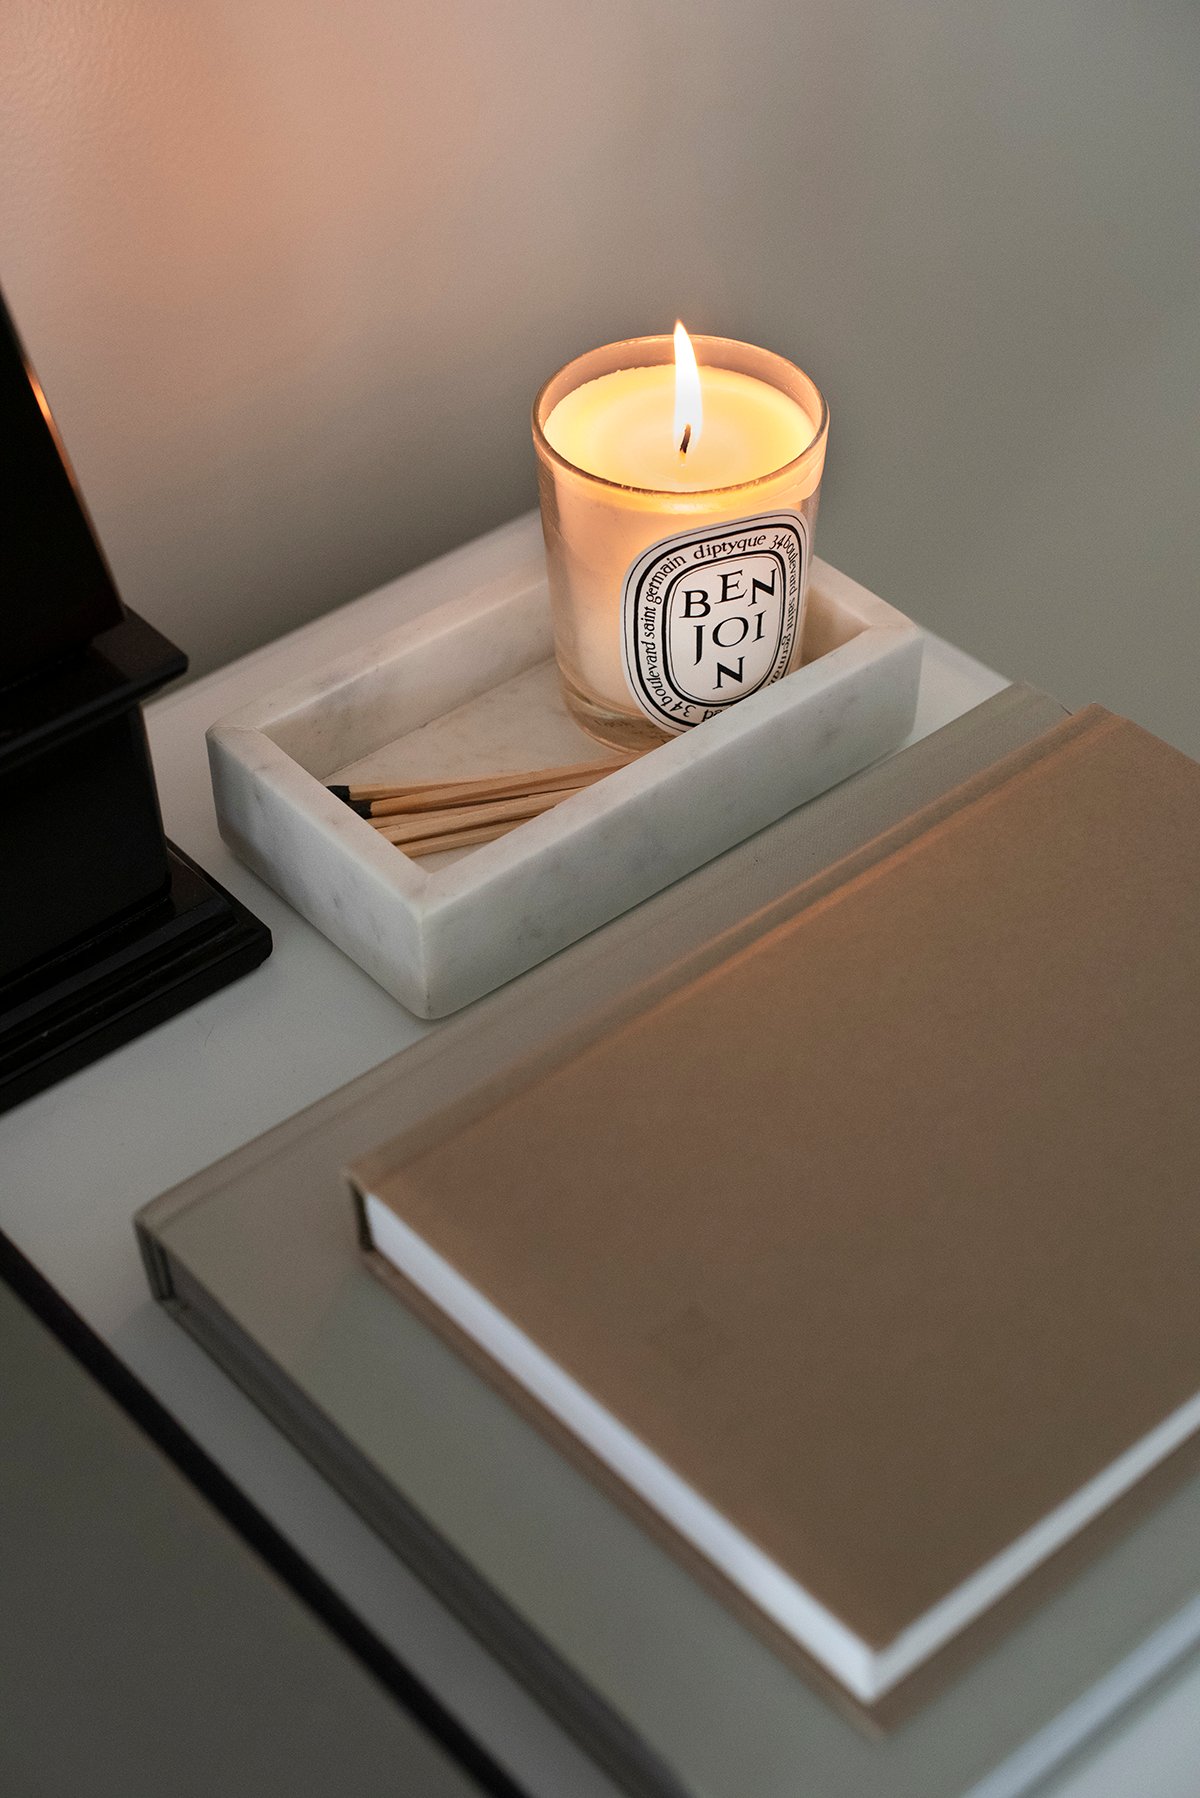
Since sharing this makeover, we’ve since moved this little writing desk to another bedroom and styled bedroom storage from Kathy Kuo Home here instead. We decided having a dresser on this wall would probably be more functional.
For us, these little updates made the room feel completely different, and I didn’t even pick up a paintbrush. Home takes time, and I think it’s a good thing when spaces evolve alongside us. It also feels really satisfying to make thoughtful changes you know will last. Photos probably don’t capture it all, but walking into this room now is just a better experience. It’s more welcoming, more personal, and it finally makes me smile. I’m so glad we gave it a little attention.
Easy Tips to Refresh Your Own Bedroom
If you’re looking to give your bedroom a fresh start, here are some simple changes that make a big impact:
- Replace your textiles. Think about rugs, curtains, and bedding. Linen drapes alone made a huge difference in our space.
- Swap light fixtures. Add bedside sconces, switch a lamp, or update an overhead fixture.
- Invest in cohesive furniture. You don’t need a full matching set, but symmetry around the bed always looks more pulled together.
- Style your bed like a designer. I always layer bedding and pay attention to pillows, color, and texture.
- Add personal touches. Art, mirrors, and framed photos bring life to a room.
- Think about function. Do you need a reading chair? A desk? A bench? More storage? Add what you’ll use.
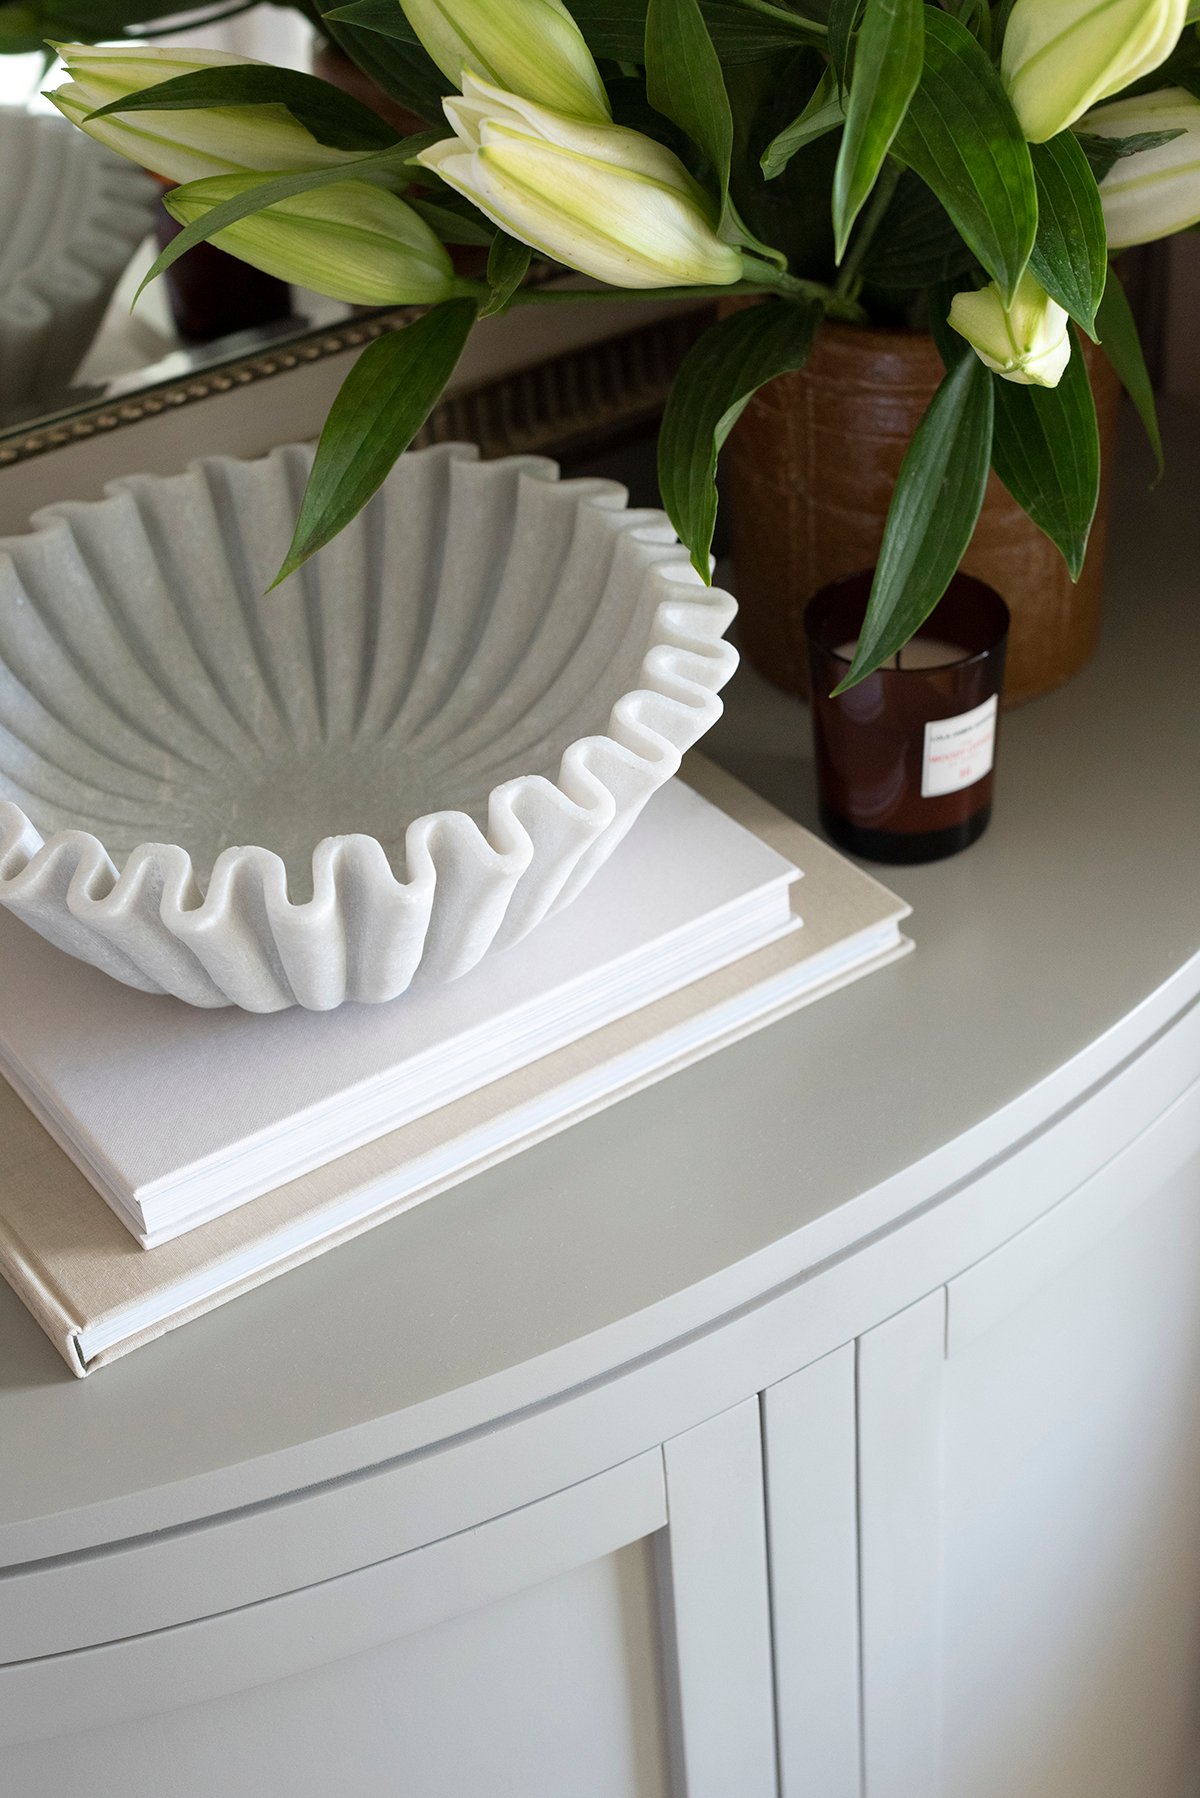
- Style your nightstand with purpose. Keep it tidy and beautiful with only the essentials.
- Make your bed every morning. That one task sets the tone for the whole day and keeps the space feeling peaceful.
From a Designer’s Notebook
With a new summer season just around the corner, this is the perfect time to refresh a space in your home that’s been sitting on your list or even a spot you haven’t really paid much attention to yet. It doesn’t need to be a big renovation.
Sometimes all it takes is swapping out a couple of things or rearranging what you already have. I’m all for a seasonal reset! It’s such a simple way to lift your mood and bring fresh energy into your home.
I also want to make sure you have all the sources for this space since I’ve gotten a few requests for links. Keep scrolling for everything I used in our primary bedroom makeover, and feel free to reach out if there’s something you’re wondering about, I’m happy to share!
Shop my finds by clicking directly on each item below… they’re all are clickable!
I thought you may also like to see the bedroom later in the day with the sconces switched on… it certainly takes on a charming and alluring glow.
My Most Asked Questions
I wash our bedding often and spot treat as needed. I also keep a coverlet or matelassé folded at the foot of the bed to help protect it.
We don’t use that switch. Our lights are controlled through our smart home system, so voice control makes it easy. We chose the best placement for reading and function. When we do the full renovation, we’ll move the electrical.
We have a Sleep Number and will never go back. It has been four years of good sleep and I credit that to our mattress. For anyone curious, my number is 35 and Emmett sleeps at 75.
The demilune bedside table measures 32″ high x 38″ wide x 12″ deep- and they have an adjustable shelf inside. They’re a really great scale!
Given this is our bedroom and sleep is very important to us, I had to choose function over form on this one. We sleep with our ceiling fan running and that is also the main light source on our ceiling. If you’re going to install a ceiling fan, I do recommend white so it easily blends with the ceiling. Check out this post for my favorites… the best designer approved ceiling fans & how to choose one.
Related
Looking for more bedroom design-related posts? I’ve linked a few of my favorites below that can help you navigate your current or future bedroom renovation with confidence.
- My Leather Bed + Close Options
- How Designers Choose & Use Wall-to-Wall Carpet: 10 Tips
- Quince Linen Bedding Review
- Basement Bedroom Reveal
- How to Install Casual Linen Drapery Panels
- Things Every Bedroom Should Have
- Ideas for Making a Basement Bedroom Feel Cozy on a Budget
- Maroon Guest Bedroom Reveal
- DIY Upholstered Bed
- Designer Lighting Looks for Less: Visual Comfort Dupes
I hope you enjoyed this one! Let me know if you have any questions, I’m always happy to chat design. And of course, I’d love to hear what you think. I’m very much looking forward to a full-scale renovation in this room later this year, if all goes as planned. We’ll see how things unfold, but it’s fun to look back at the progression!

