Ideas & Design Plan for Our Outdoor Kitchen Build
Happy Friday, friends! I’m excited to share a bit of a spontaneous project with you today… my ideas and design plan for our outdoor kitchen build. Since moving into our home, I’ve wanted to address the large concrete patio in our backyard. An opportunity presented itself, and we’re determined to wrap up this (hopefully) fast outdoor project before the end of summer! I couldn’t be more excited, but there are plenty of tasks on the punch list and we’ve got a deadline. Click through to see how the space currently looks, our goals, the design plan, a mood board of the materials we’ll be using, and to learn more about what we’ll be working on in the coming weeks.
We’ve actually spent a fair amount of time working on our outdoor living spaces this year. From landscaping, planting our garden, hosting al fresco summer dinner parties, and adding DIY solar landscape lighting, we really appreciate and make use of our outdoor space. To continue improving our outdoor living space, we’re beginning an easy outdoor kitchen build!
Current Space & Before Images
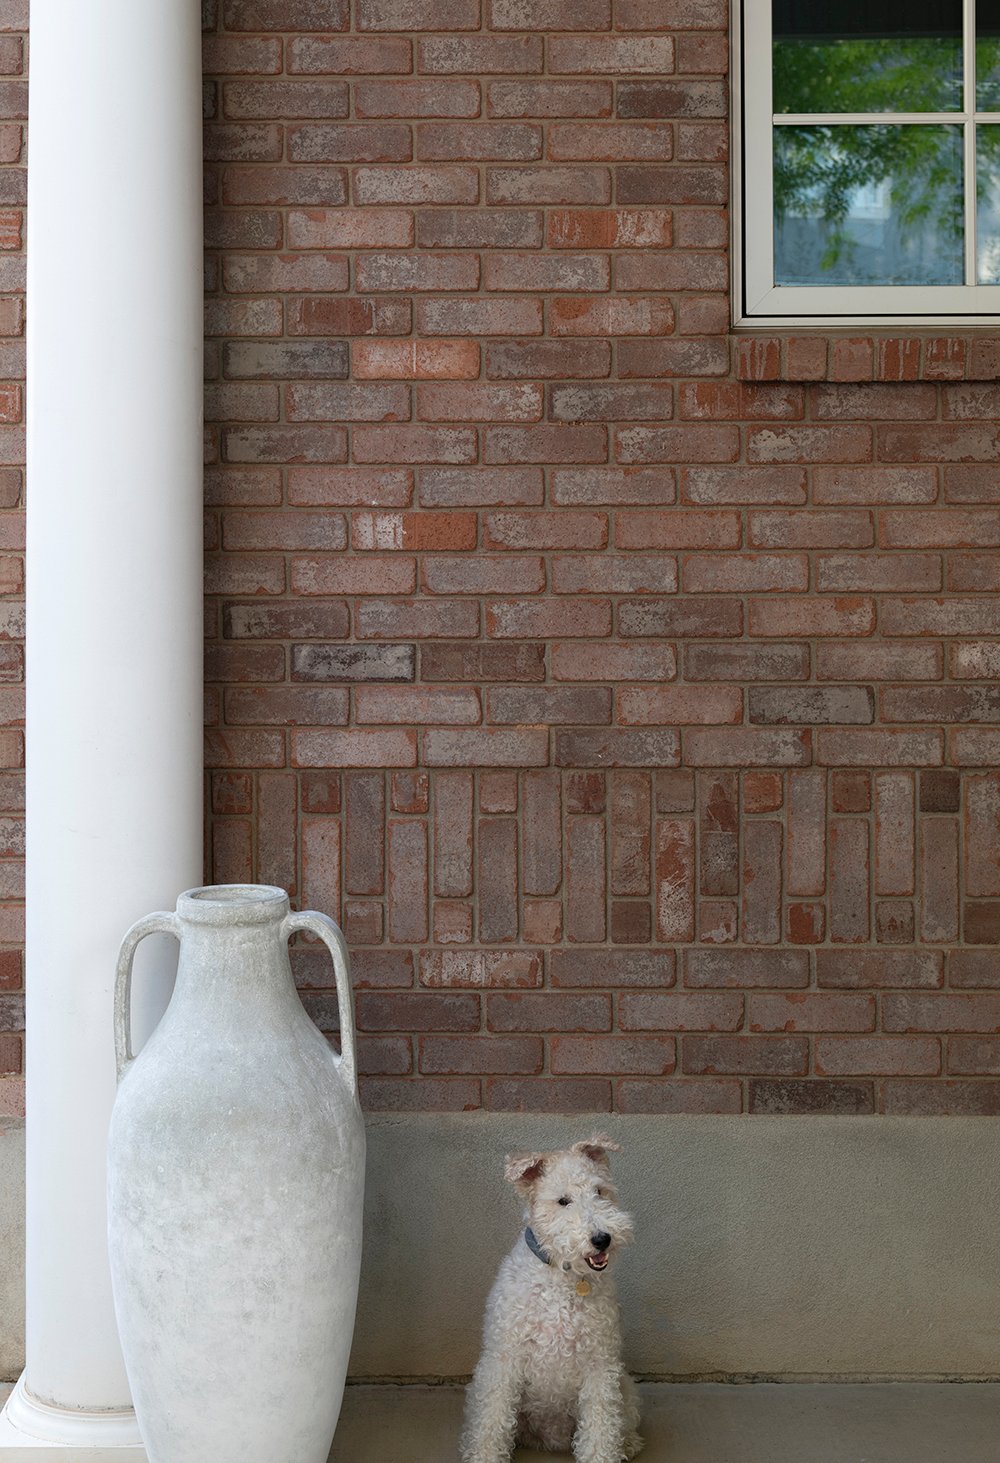
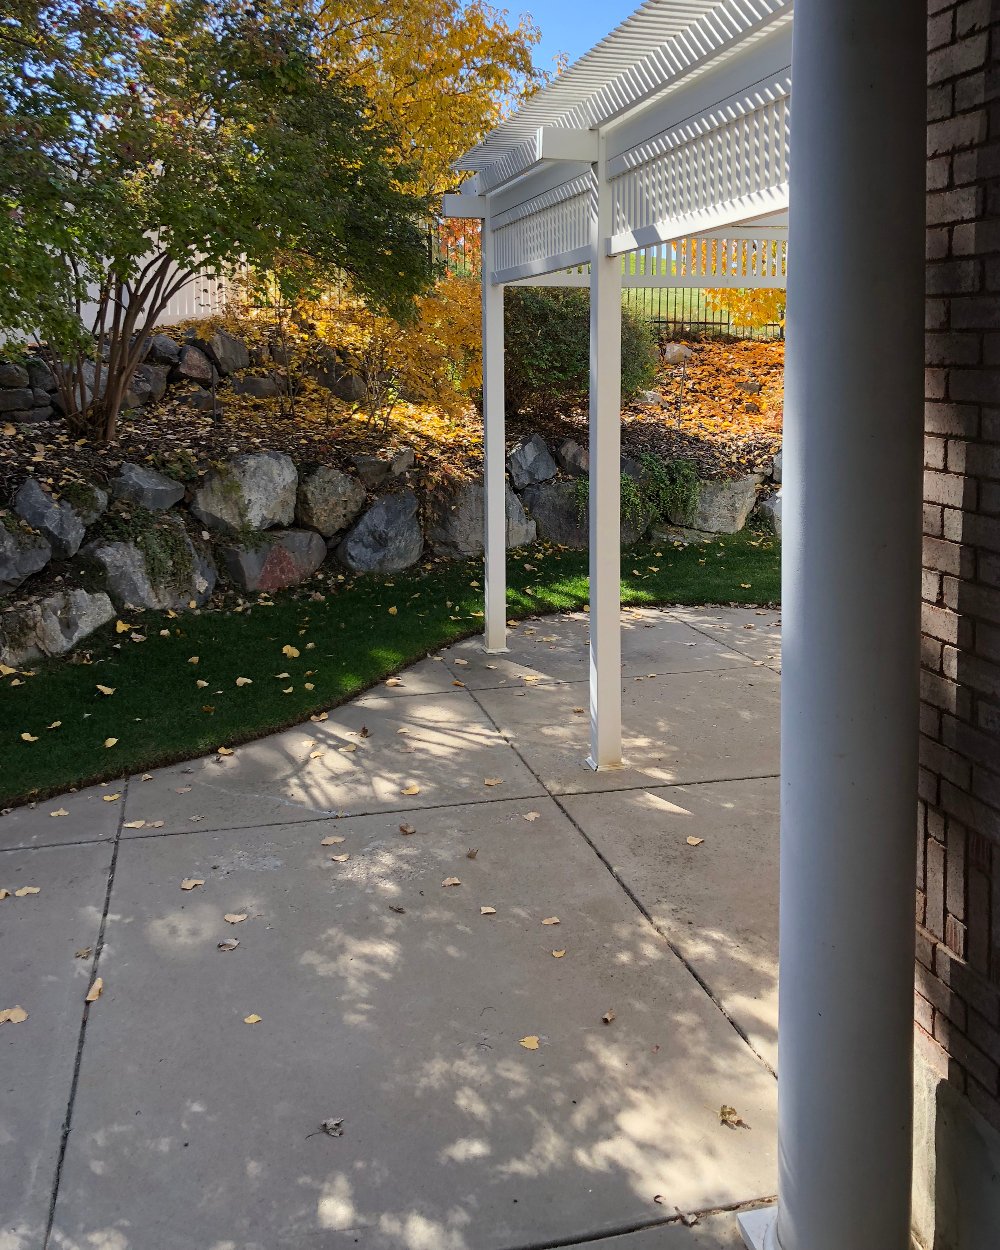
This space actually functions very well for us as is, but I’ve always disliked the sea of concrete that is our existing patio. We have an outdoor seating area, an al fresco dining space that lives beneath a large pergola, and we’ve always used the covered porch to the right of the staircase as a small cooking station with a freestanding gas grill on wheels (pictured below).

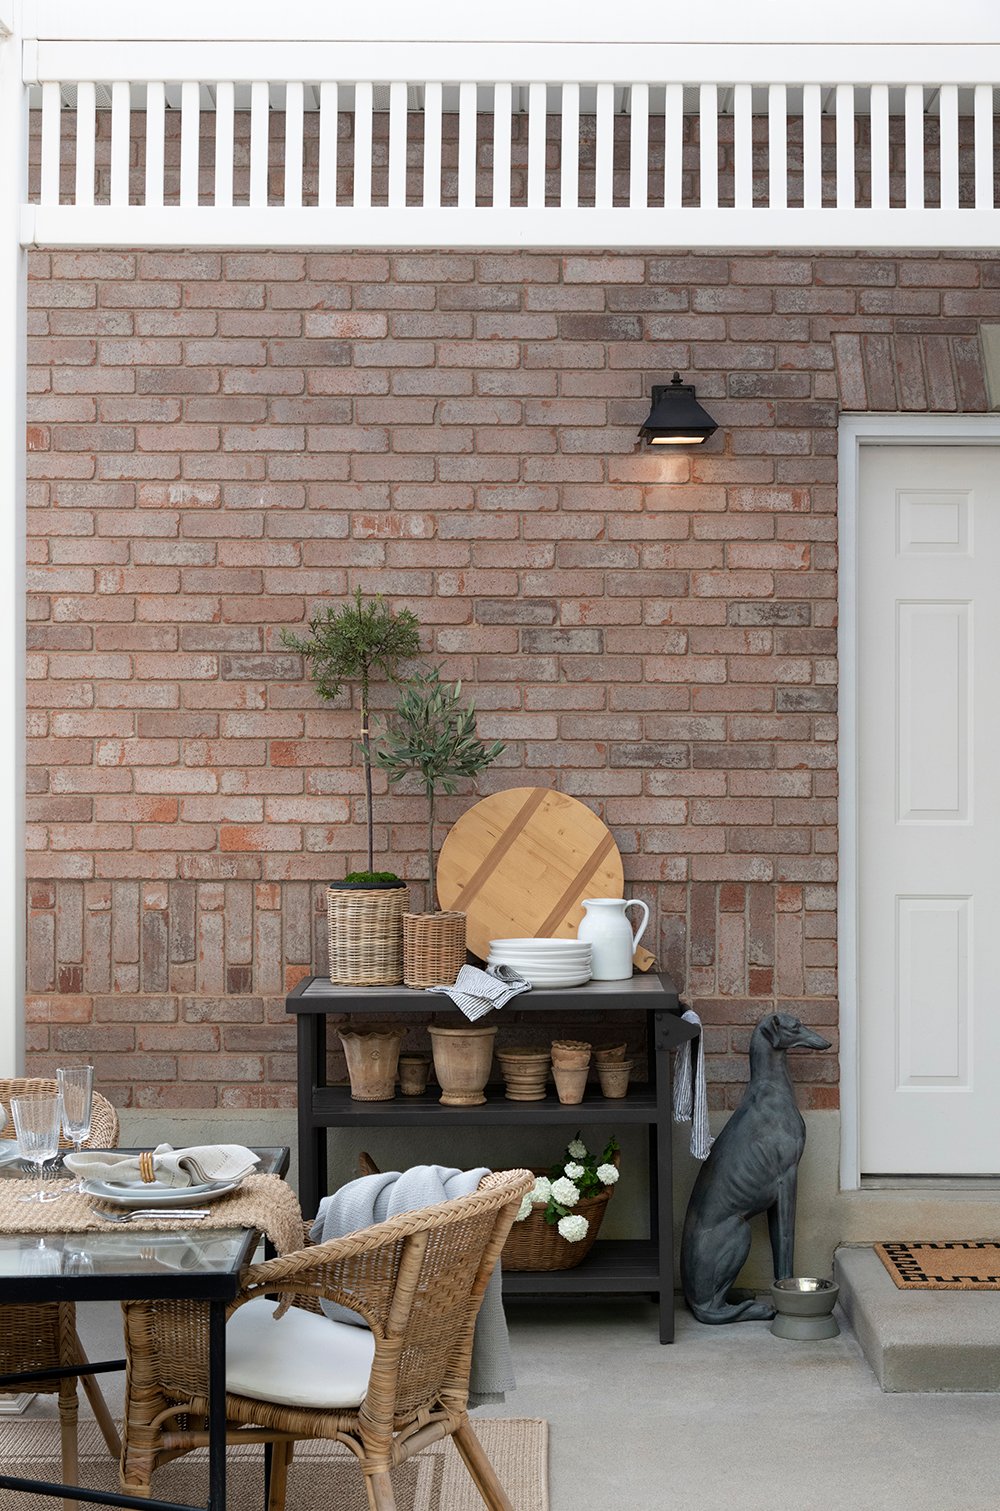
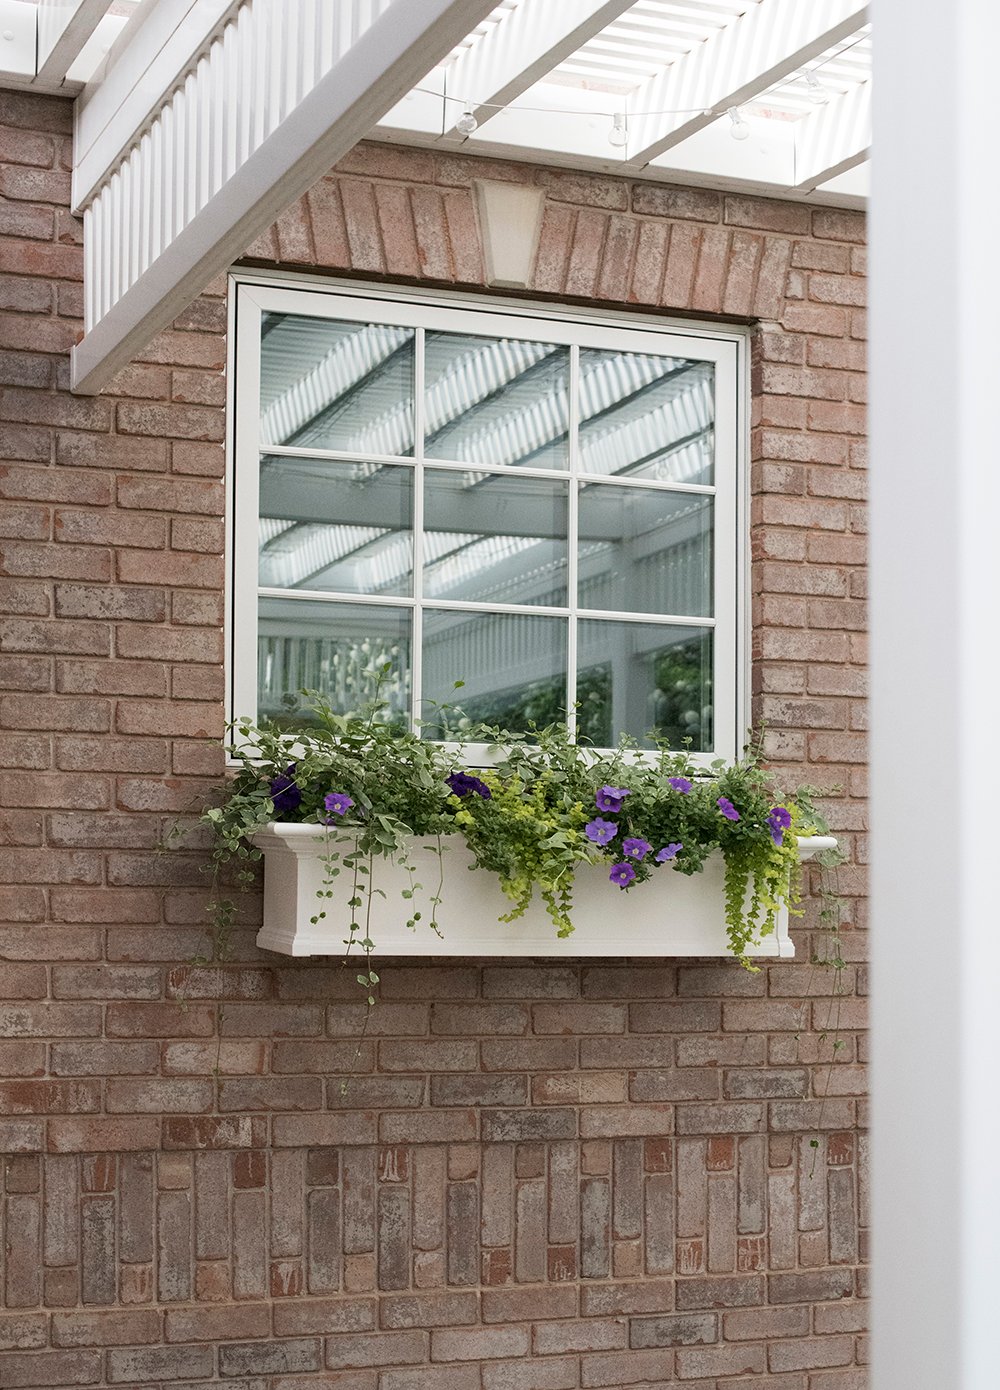
The outdoor kitchen cabinets will live on the exterior walls where the bar cart currently is, as well as the window planter wall. I’ll give you a proper video tour on Instagram stories this weekend!
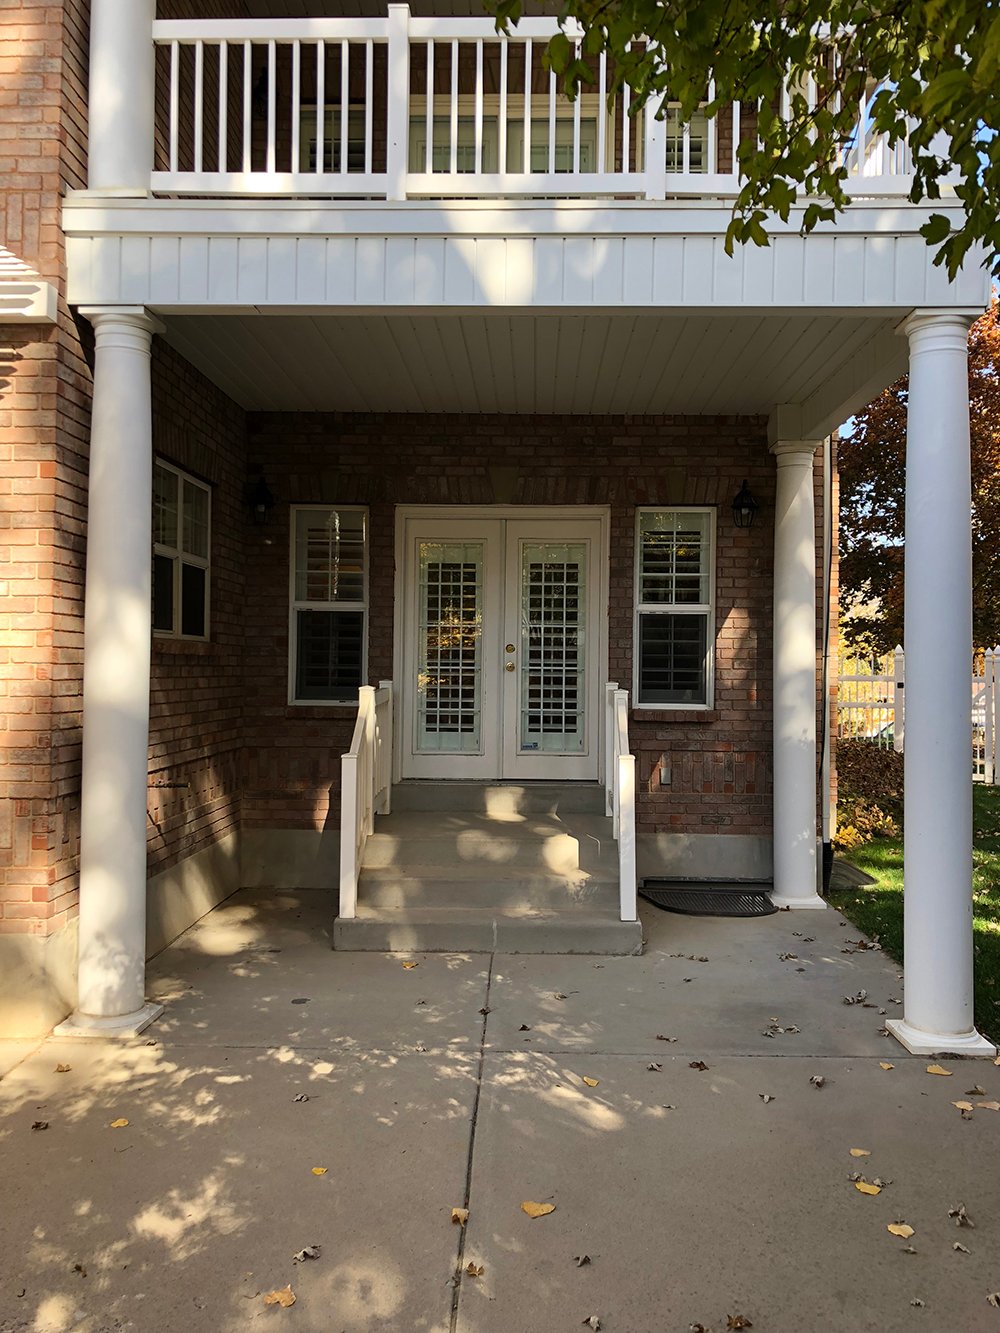
I’ll also have to take new (better) before images once the entire patio is cleared off, but here are a couple from the week we moved in… which gives you a better visual of the concrete pad.
Criteria & Goals
Emmett & I have always envisioned an outdoor kitchen space on our back patio… more room to grill, storage, a refrigerator for food & beverages, and an easier setup for entertaining. Here’s what our wish list looked like for this space:
- Built-in grill for outdoor cooking
- Ample countertop space
- Food prep area
- Storage cabinets
- Outdoor refrigerator
- Concealed outdoor trash
- Aesthetic solution for the concrete
- Better setup for cooking & hosting
- Phase one for potential addition of a plunge pool
Someday, our dream would be to add a small plunge pool to our backyard, so having an outdoor kitchen feels like a step in the right direction… access to food & drinks, storage space, etc.

Outdoor Kitchen Plans
We landed on outdoor kitchen cabinetry and a built-in grill from Stono Outdoor Living, and I’m very excited about the aesthetic and functionality it will add to our patio. We’ll be using outdoor kitchen appliances from Zephyr- refrigerator drawers and a beverage cooler.

Here’s a quick look at our outdoor kitchen plan and layout. I’ll have to work on an aerial floor plan, but it’s going to be really simple with two banks of cabinets.

Material Mood Board
As far as materials are concerned, the Stono outdoor cabinetry is weather resistant, powder coated aluminum, and food grade stainless steel. Other small details I appreciate? Inset cabinets, a thick concrete countertop, integrated appliances, and nice color options. The appliances are also stainless, and we decided on porcelain (weather-resistant material) outdoor tile instead of brick pavers, stone veneer, or natural stone.

Why? I actually prefer the aesthetic of the tile because it doesn’t compete with our brick exterior. I was looking for classic contrast, something with plenty of traction, durability, and a material that fit our budget. Looking ahead- I also wanted to source something that would be appropriated for a pool surround, should we ever have the opportunity to install one. I landed on this tile from Floor & Decor, in the lightest color. I grabbed it on sale from our local store for $2.99 / square foot… whereas the brick was $13 / square foot. Much more expensive! Of course, we’ll get creative with the pattern and placement for a more customized look. This is always a great way to enhance budget-friendly tile.

Our To-Do List
Now that the design plan is locked in, materials are ordered, and our cabinets are in production, we’ve got our work cut out for us. I’ve got surgery at the end of summer (with a 6 week recovery), so the plan is to knock out the manual labor and finish this project prior to that. Here’s our to-do list, as we get started:
- Fill in the window well (frame window, concrete block, etc)
- Level the patio
- Install & grout outdoor tile
- Repair the lower stucco on our home exterior
- Install exterior light fixtures
- Paint exterior doors
- Install outdoor cabinetry, countertop, & kitchen
- Install outdoor appliances
Our first step is framing and filling the window to remove the window well. Emmett just started on that earlier this week! The prop closet is looking pretty messy…

FAQ
Filling in the window actually worked out perfectly, because the window lives in my prop closet. Since it’s just a closet, I didn’t feel bothered by sacrificing the natural light. It kind of felt like a waste down there anyway. I’d much rather have the outdoor kitchen, so it felt like a good trade off.
You can! Stono Outdoor Living has easy kits that you can plug into your space- or you can customize any outdoor kitchen from them to perfectly fit your area. We opted for the readymade kit. They’re all available in multiple colors, finishes, appliance configurations, and with different countertops. You can even specify the countertop thickness- I went with 5 cm for a substantial look.
Yes! This was another reason we landed on Stono. We had already ran our gas line and picked out appliances, so we needed the drawers & doors in a specific location. We were also able to specify cabinet inserts- like a concealed pull-out trash can / propane tank pull-out.
Yes- that is definitely something to consider. When we renovated our main kitchen five years ago, we had a feeling we’d eventually install an outdoor kitchen, so we ran gas at the same time as our indoor range. Therefore, we already have the gas line ready to go (circled below). We’ll still need to run electrical. 
Of course! I also share that info in the reveal post, so once it’s totally finished- I’ll break down an itemized list for you.
Absolutely! Emmett is really excited about this since he works for a local cabinetry shop, and Stono Outdoor Living promises installation in an hour. Their modular outdoor kitchen kits are supposed to be easy with step-by-step instructions, so we’ll see how it goes.
We won’t. Running plumbing felt too far out of reach, in terms of timing and budget. Plus, our indoor kitchen is just on the other side of the window. It’s so close and easy for dishes!
No… we’ll have two banks of cabinetry against the walls, with the dining area in the middle. This floor plan made the most sense, as there was no space for a floating island.

Related
If you’ve missed any of our outdoor projects from the past, I’ll link some for you below. We love spending time outside at home, and these are some of my favorite spaces we’ve tackled…
- Our Storage Shed
- Backyard & Patio
- The Bedroom Balcony
- The Side Yard Garden
- Our New Roof
- Updating the Garage Doors
- Side Yard Transformation (at our previous house)
- A-Frame Cabin Deck Makeover (our neighbor’s house)
- The Backyard At Our Previous Home
- The Carport Makeover At Our Previous Home

We’re obviously hoping to complete our outdoor kitchen in time for fall patio dinner parties! It’s hard to believe we’re already into August. I feel like this year is flying by. Do you have any last summer projects you’re hoping to tackle before the weather changes? Here’s to hoping we can get it done! Have a fun weekend ahead, friends. We’ll be getting started on this!